Imagine stepping out onto your balcony, porch or tiny patio and plucking a handful of ripe, sun-warmed tomatoes without ever setting foot in a garden bed.
You don’t need acres of yard or perfect soil—just a humble 5-gallon bucket and a bit of know-how.
Buckets turn limited space into a productive, mobile garden that delivers fresh flavor all season long.
Why a 5-Gallon Bucket Is Perfect for Tomatoes
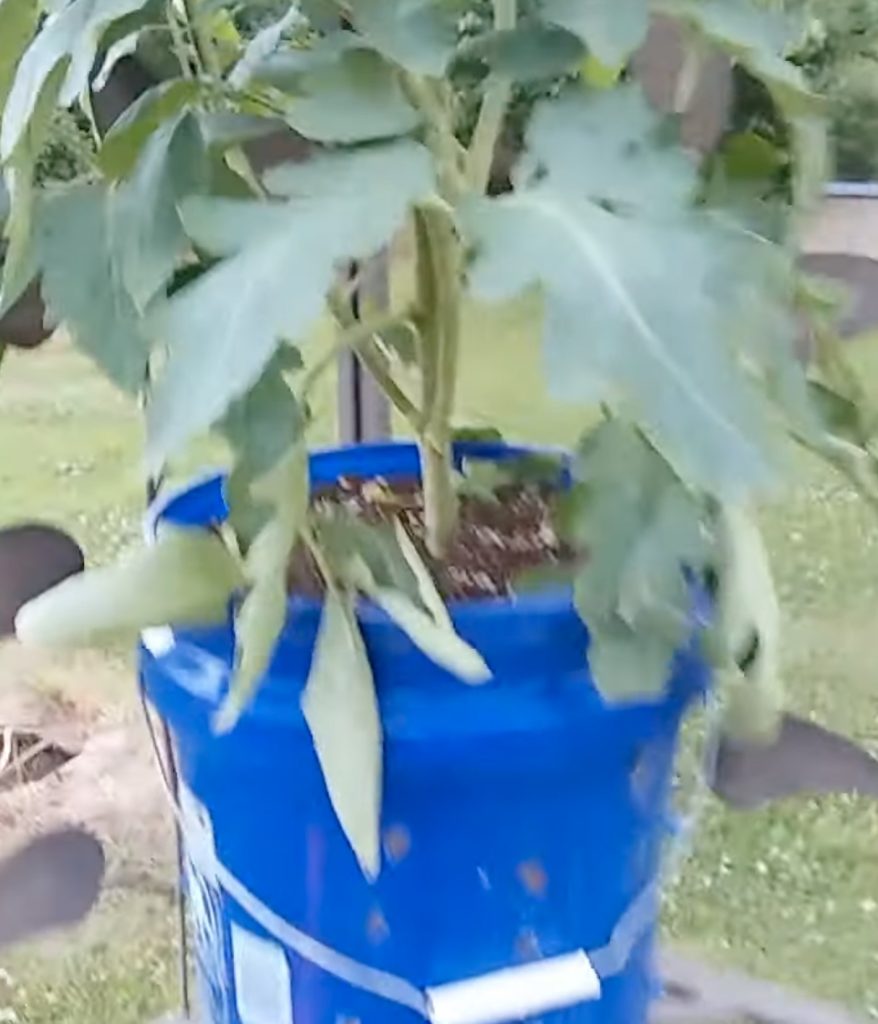
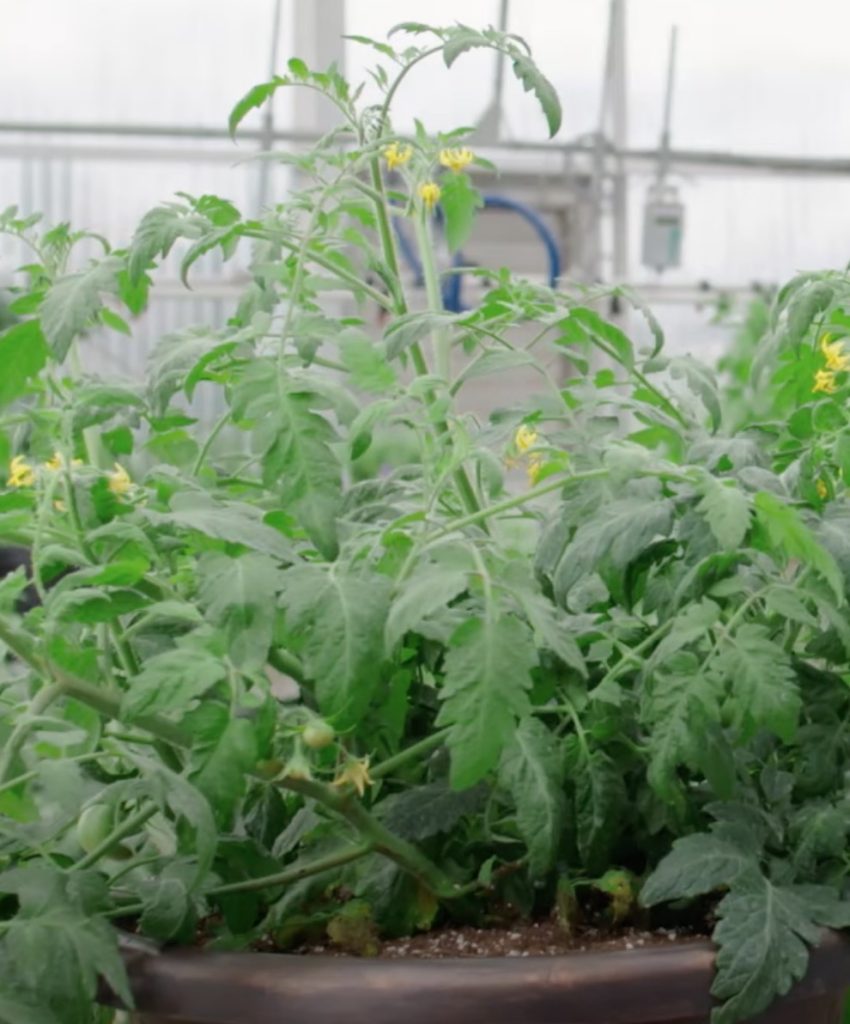
Tomatoes develop deep, thirsty roots that crave room to stretch. A 5-gallon bucket provides just enough space for a single plant’s roots to sprawl without overwhelming your tiny footprint.
Because it’s portable, you can chase the sun or shelter your plant from an unexpected storm, giving you control that in-ground beds can’t match.
Budget-wise, these buckets are often free or low-cost and can be recycled each season.
Materials You’ll Want on Hand
Before you dive in, gather everything you need:
- 5-Gallon Bucket (food-safe plastic if possible)
- Drill with ¼″ Bit for drainage holes
- High-Quality Potting Mix (avoid garden soil)
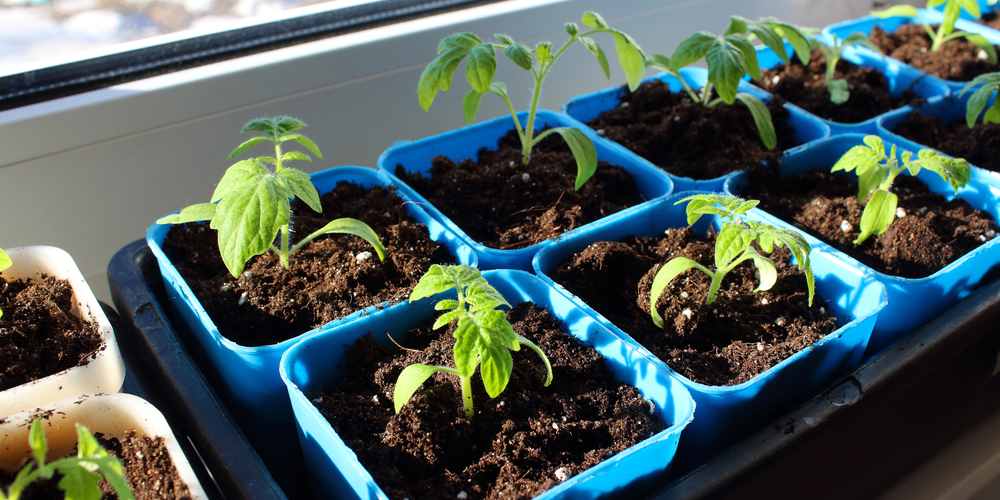
- Tomato Seedling or Transplant
- Support Structure (cage, stake, or trellis)
- Balanced Fertilizer or compost
- Mulch (straw, shredded leaves, or grass clippings)
Having all of this ready to go means a smooth planting day and healthier plants from the start.
Step 1: Drill Drainage Holes That Save Roots
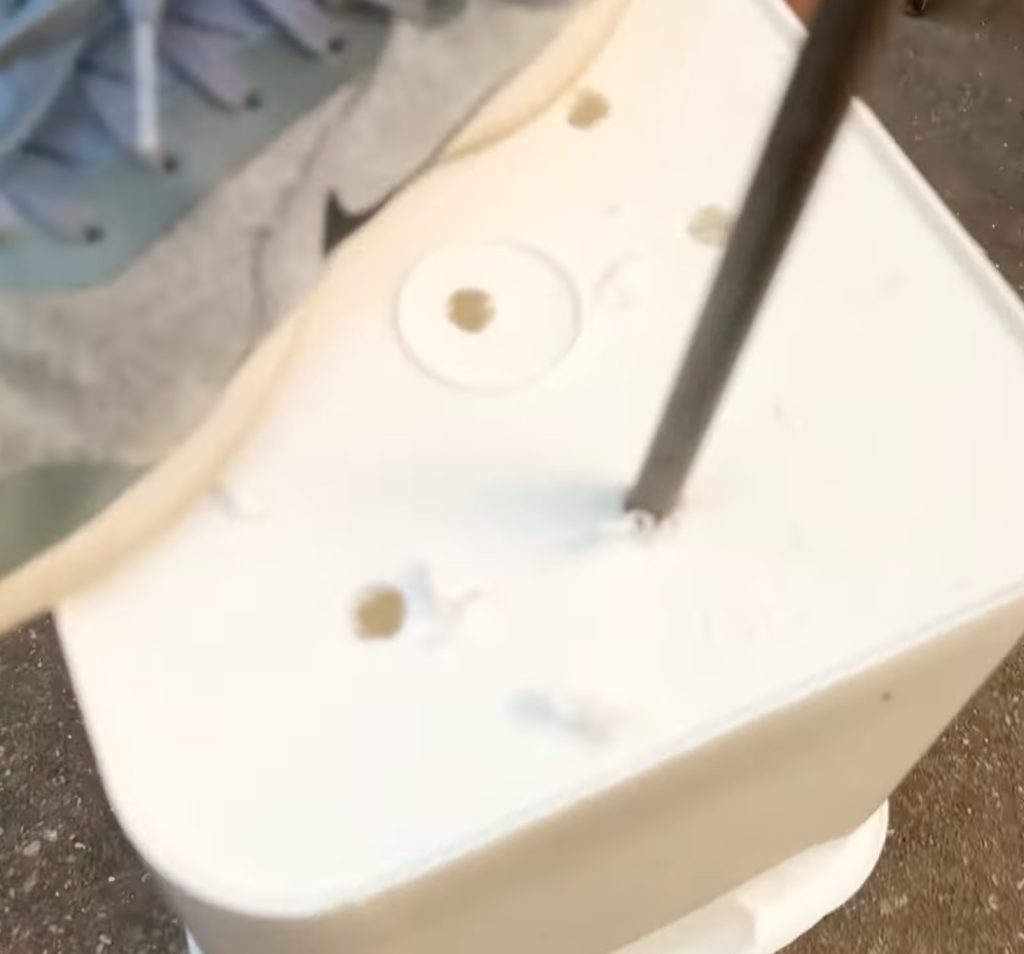
Tomatoes detest “wet feet.” Without proper drainage, waterlogged soil leads to root rot and stunted growth.
Turn your bucket upside down and drill at least six holes in the bottom.
If your bucket has ridges, drill a couple more along the sides about an inch above the base.
This ensures excess water can escape freely, preventing soggy conditions that invite disease.
Step 2: Pick a Potting Mix That Balances Moisture and Air
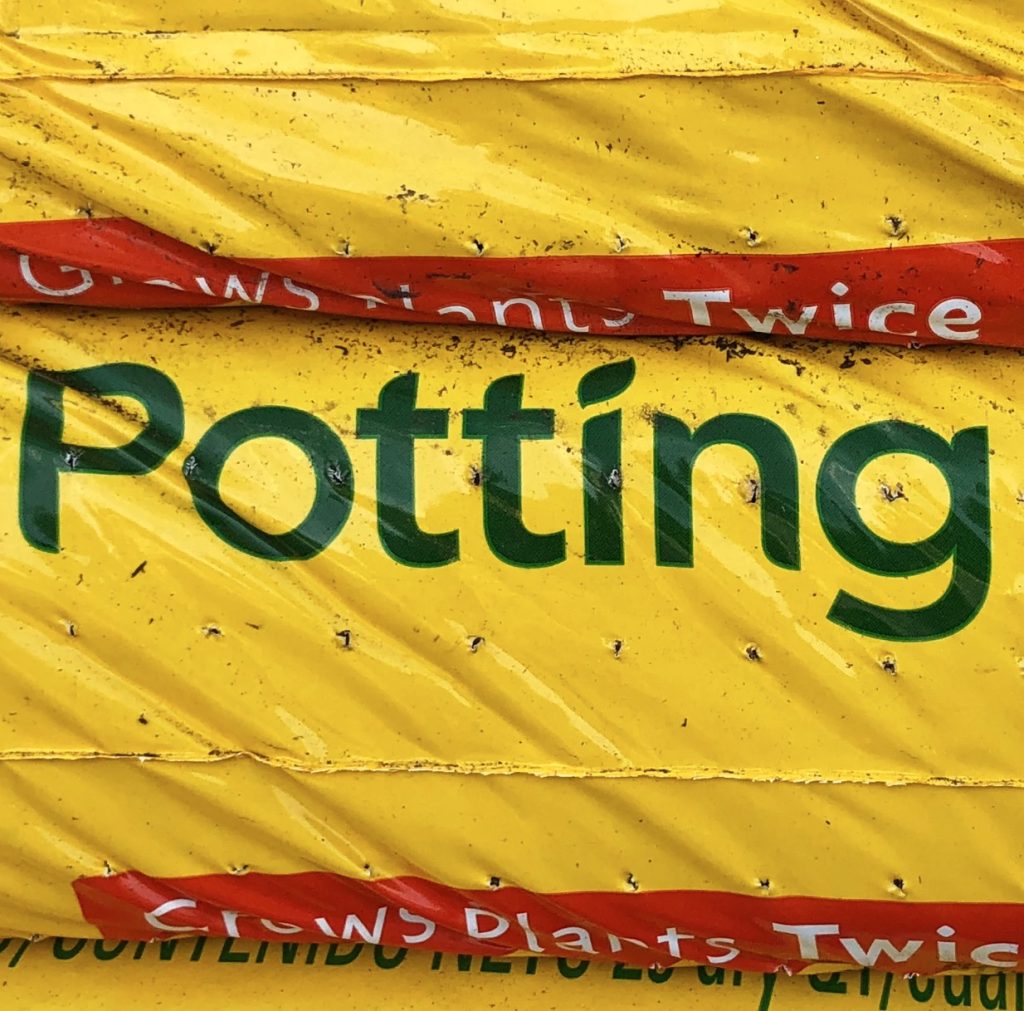
Container tomatoes need soil that holds water but drains swiftly.
A premium potting mix formulated for vegetables or container gardens is ideal.
Avoid heavy garden dirt—clay particles compact and suffocate roots.
For extra zing, blend in a handful of perlite or vermiculite to improve drainage and oxygen flow.
Incorporate a slow-release granular fertilizer or a couple of inches of compost at planting time to feed hungry roots from day one.
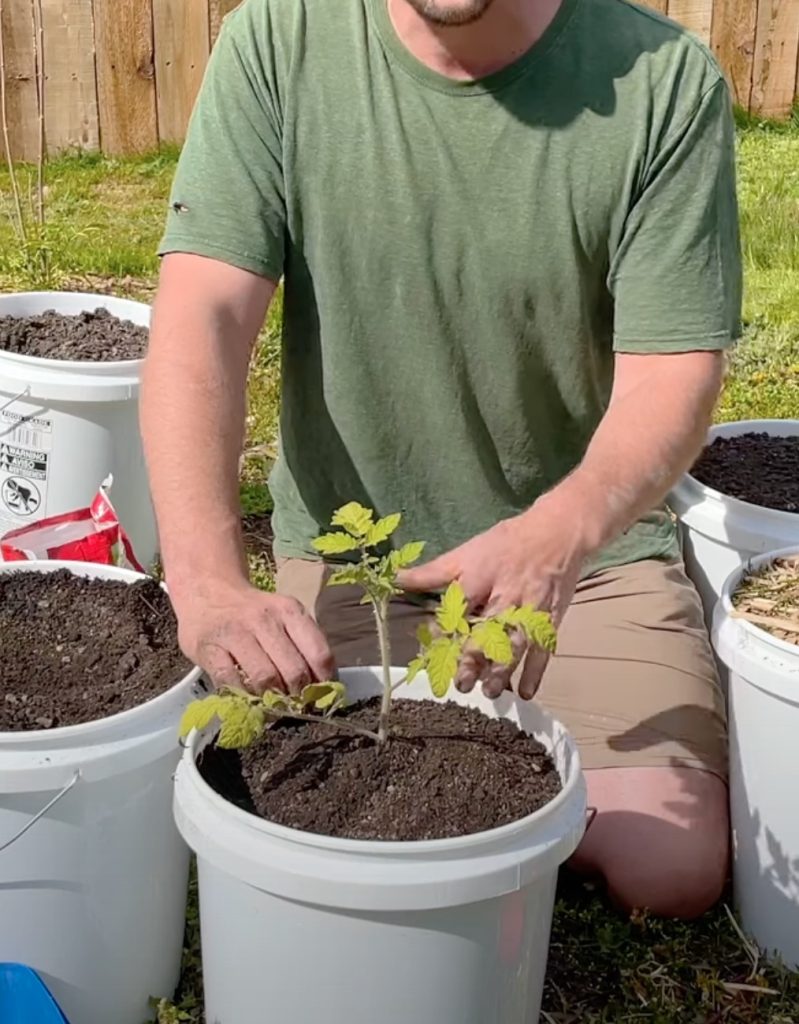
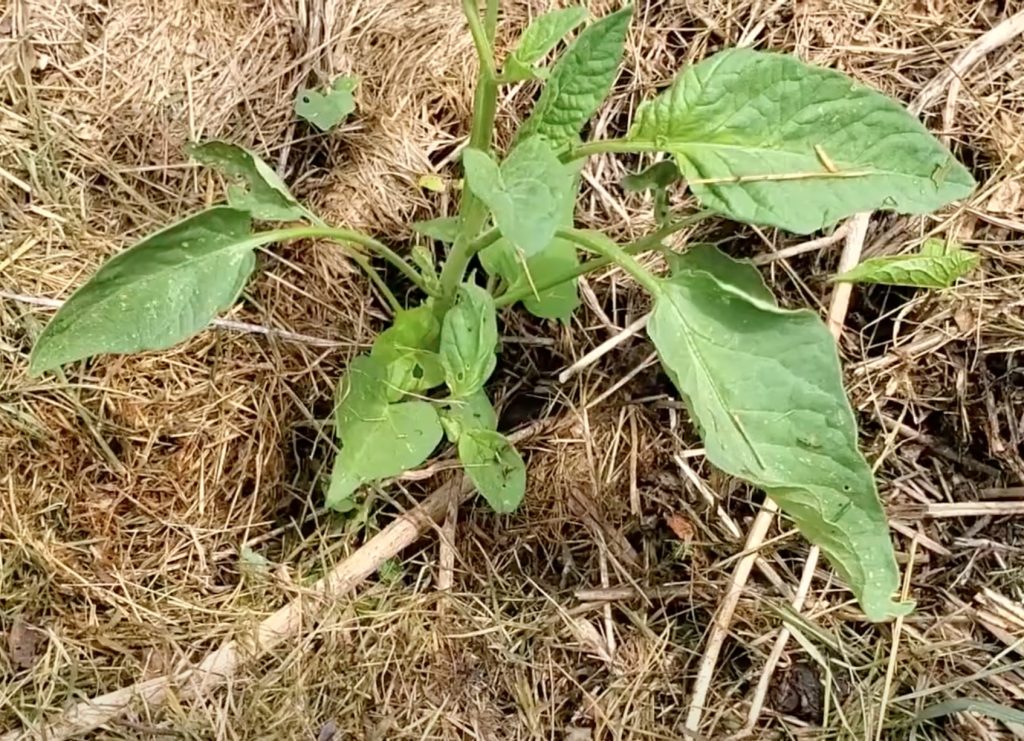
Step 3: Plant Deep for a Strong Foundation
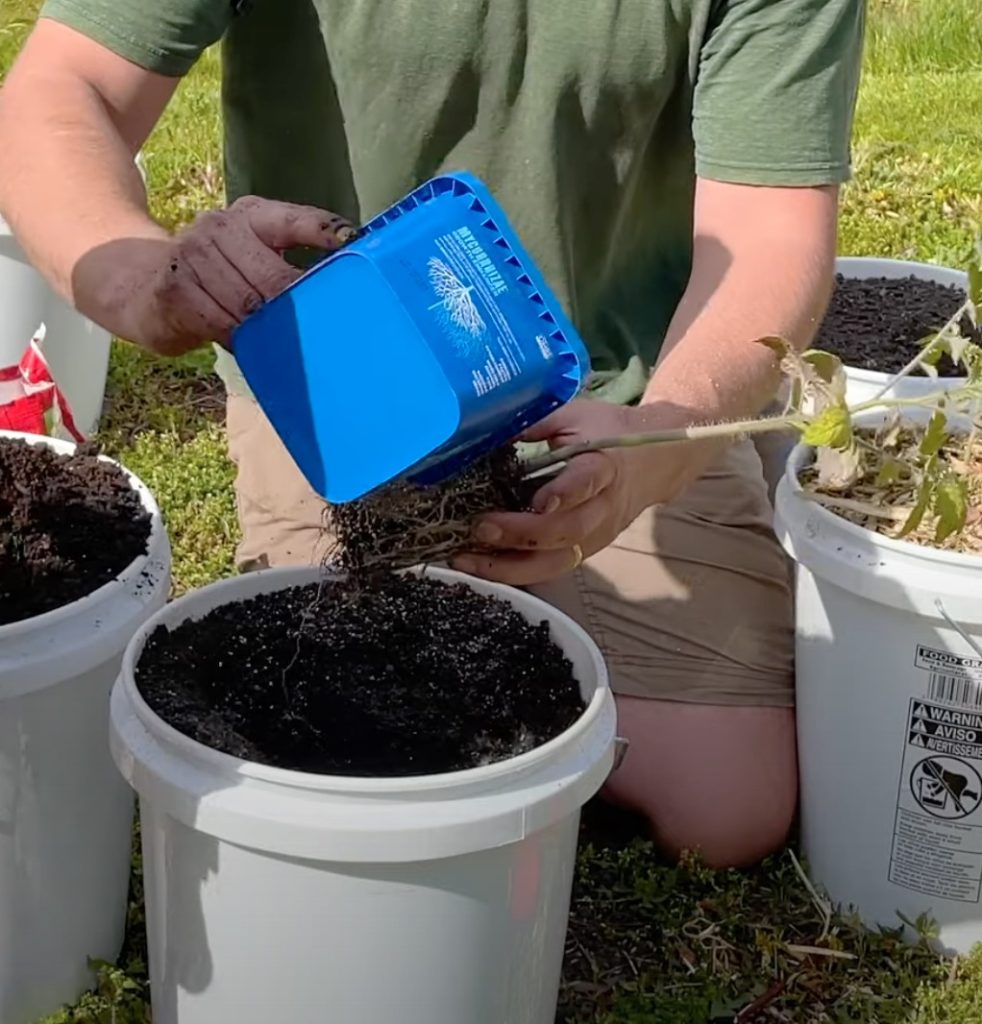
Tomatoes will send roots along any buried stem, so planting depth is your friend.
Pinch off the lower leaves on your seedling and plant it up to the first set of true leaves.
Burying part of the stem encourages additional root growth, yielding a sturdier, better-anchored plant that lunges for water and nutrients.
This method also prevents leggy stems that droop under the weight of fruit later on.
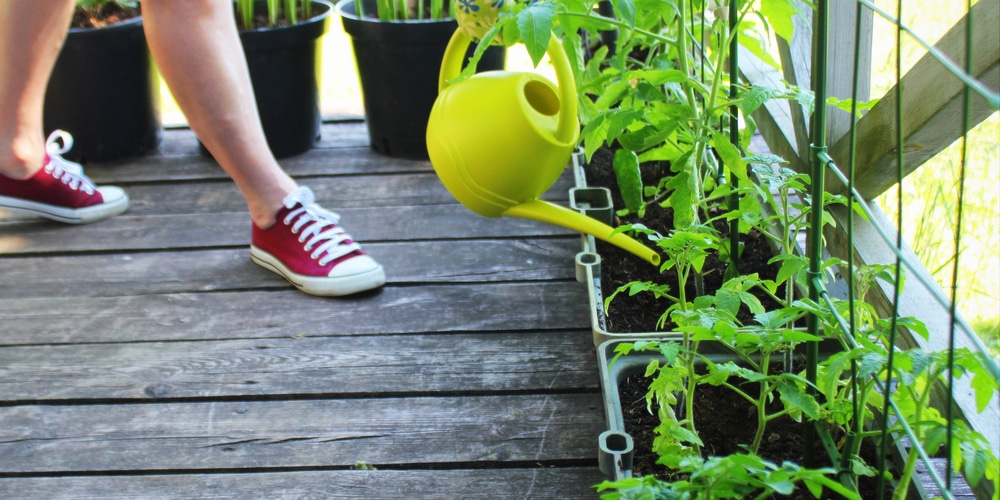
Step 4: Support Early to Prevent a Midseason Tangle
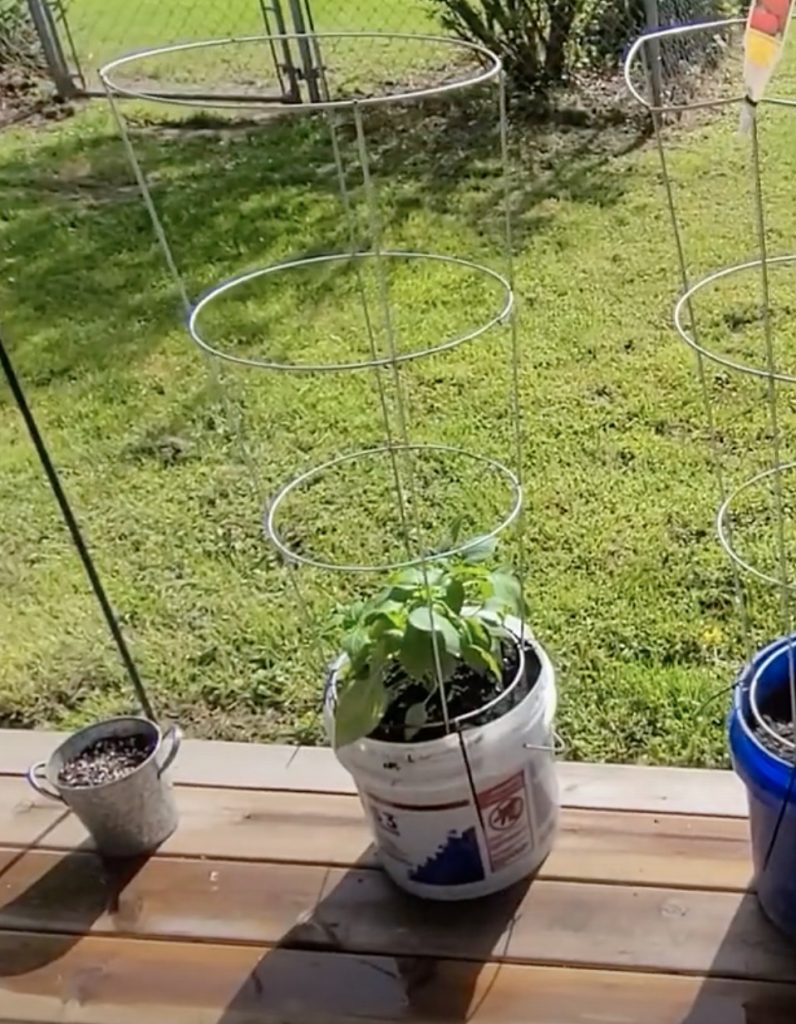
Waiting until your tomato is a wild tangle makes staking a wrestling match with branches.
Insert your cage or stake immediately after planting, weaving stems gently through the supports as they grow.
For indeterminate (vining) varieties, sturdy stakes or a trellis system work best. Determinate (bush) types usually do fine in a simple cage.
Early support keeps plants upright, improves air circulation, and reduces breakage.
Step 5: Chase the Sun—6 to 8 Hours a Day
Tomatoes thrive under full sun. Aim for at least six hours of direct light; eight hours is even better.
Morning sun helps dry off dew, cutting disease risk. If your light source shifts—as balcony shadows move—rotate your bucket every week or so.
Mobile gardening means you can follow the sun’s path, maximizing exposure and fueling robust flowering and fruit set.
Step 6: Master the Watering Tightrope
Container soil dries faster than ground beds, especially on hot days.
Check the top inch of soil daily—if it feels dry, water deeply until water runs from the bottom holes.
Avoid letting the soil swing from bone-dry to waterlogged; extreme swings stress plants and can trigger blossom end rot.
Consistent moisture encourages strong fruit development and sweeter, juicier tomatoes.
Step 7: Feed for Flower Power
Once blossoms appear, your tomato plant becomes a nutrient hog.
A balanced liquid fertilizer every two to three weeks keeps foliage lush and flowers prolific.
Follow label rates—excessive nitrogen will give you leafy growth at the expense of fruit.
For an organic boost, side-dress with compost or worm castings mid-season to keep blooms coming and fruit setting.
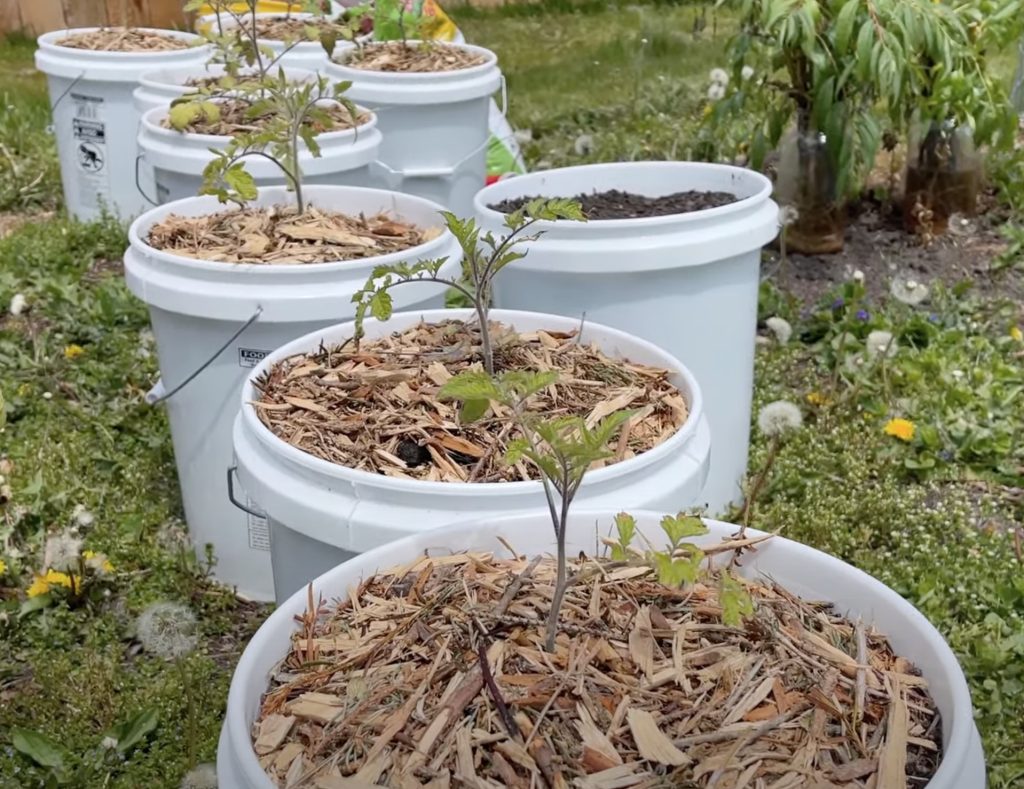
Step 8: Mulch to Lock in Moisture and Block Weeds
A two-inch layer of straw, shredded leaves, or grass clippings on top of your soil does wonders.
Mulch maintains even moisture, cutting down on daily watering. It also shields roots from temperature swings—cooling in hot weather, insulating when nights turn chilly.
Bonus: it keeps weeds at bay, so your tomato plant doesn’t have to compete for water and nutrients.
Step 9: Stay Vigilant Against Pests and Diseases
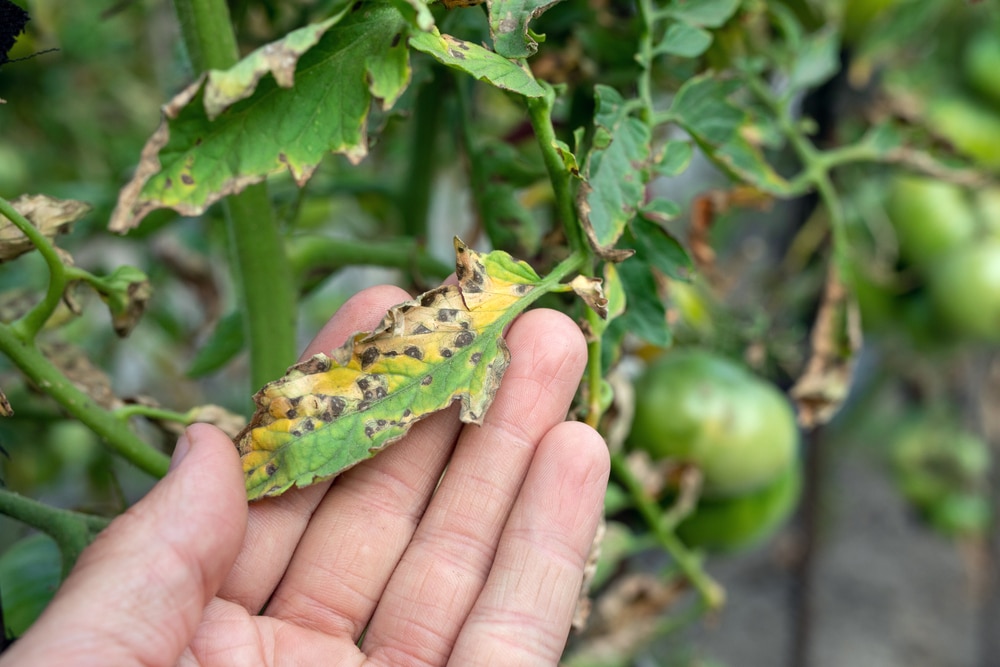
Containers may be more sheltered than gardens, but pests still find a way.
Scout leaves weekly for aphids, whiteflies or hornworms. Rinse aphids off with a stiff spray of water or apply neem oil if they persist.
Handpick large caterpillars, then drop them in soapy water. Keep leaves dry by watering at the base—wet foliage breeds fungal issues.
With a little vigilance, you can catch problems early and protect your harvest.
Top Tomato Varieties for Buckets
Not every variety thrives in a confined space. Here are some winners:
- Patio Princess (Determinate) – Compact plants loaded with 4-ounce fruits.
- Tiny Tim (Determinate) – Perfect for baskets, yields grape-sized cherries.
- Bush Early Girl (Determinate) – Prolific, dependable, and early maturing.
- Sungold (Indeterminate) – Sweet orange cherries that pop with flavor.
- Celebrity (Determinate) – Disease resistant and heavy producing.
Beginner gardeners should lean toward determinate types—they stay tidy and deliver a big tomato haul in a small package.
Common Bucket Blunders to Dodge
Even bucket gardens can go sideways. Watch for these missteps:
- Skipping Drainage Holes: Root rot guarantee.
- Using Backyard Soil: Compacted, low-oxygen, disease prone.
- Overwatering: Waterlogged roots can’t breathe.
- Underwatering: Stress leads to cracking and blossom end rot.
- Ignoring Sunlight: Shady buckets produce weak, leggy plants.
Catch these before they derail your garden and you’ll stay on track for bumper crops.
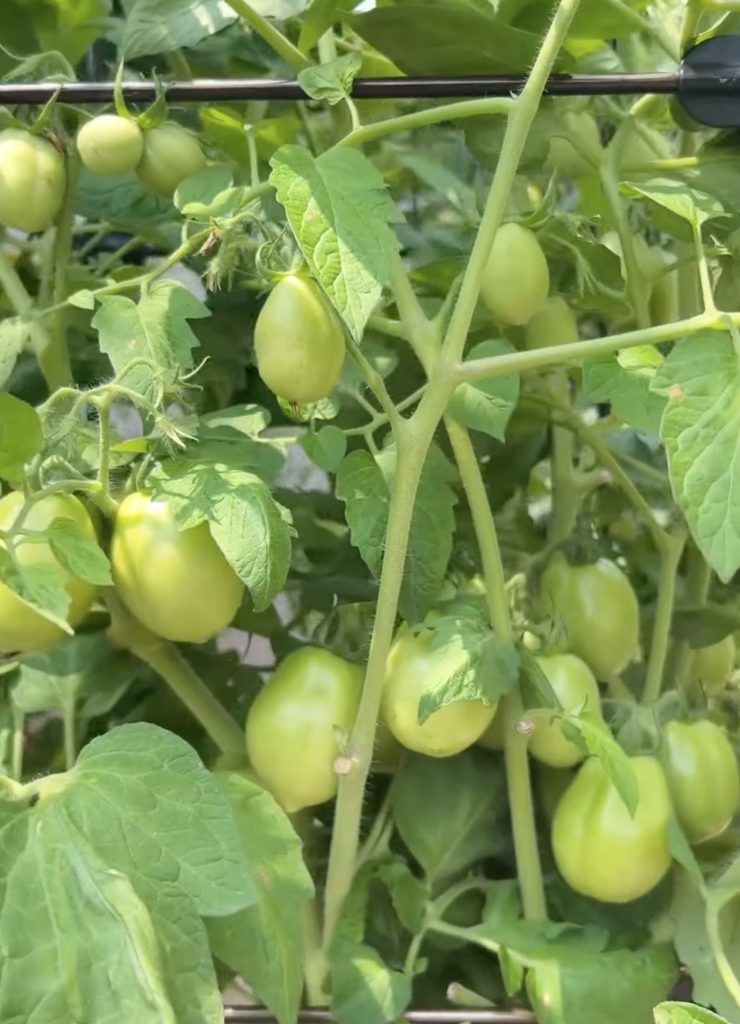
Harvesting with Confidence
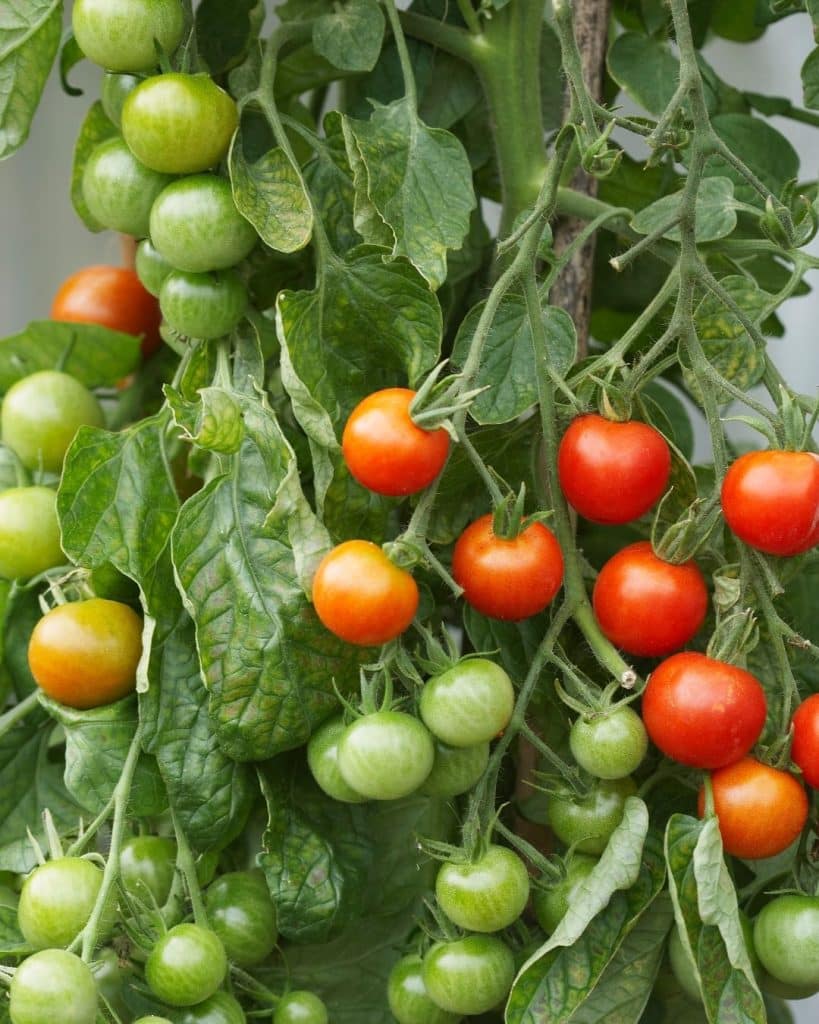
Tomatoes give you visual and tactile clues when they’re ready.
The color should be rich and even—deep red, orange, yellow or purple, depending on the variety.
Give ripe fruit a gentle twist; if it detaches easily, it’s time to taste. Avoid refrigerating fresh tomatoes—they lose flavor and develop a mealy texture.
Store them on the counter, stem side down, and watch how quickly they disappear.
Ready to Start Your Bucket Garden?
No yard? No problem. A single 5-gallon bucket opens the door to homegrown tomatoes bursting with flavor.
With a few simple materials, regular TLC, and the right variety, you’ll be harvesting juicy fruits all season long.
Go ahead—grab a bucket, pot up a plant, and get ready for the freshest tomatoes you’ve ever tasted.