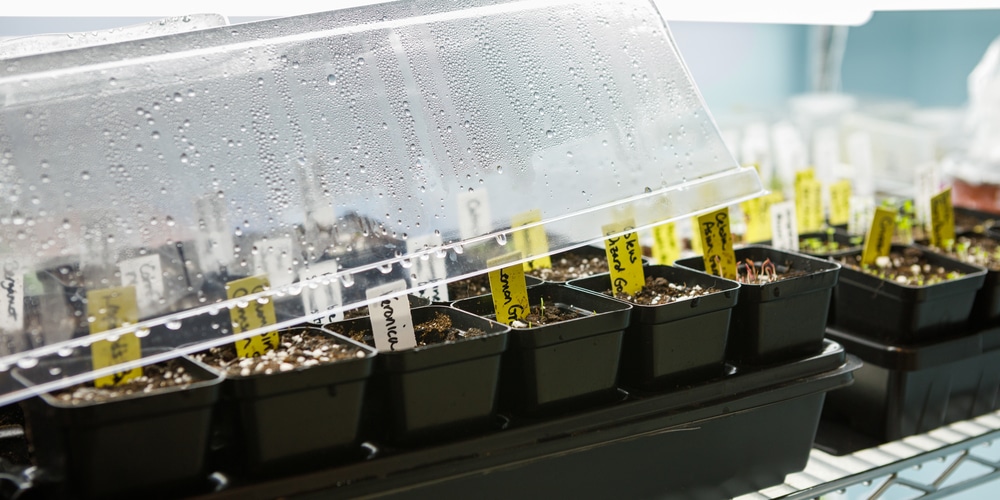
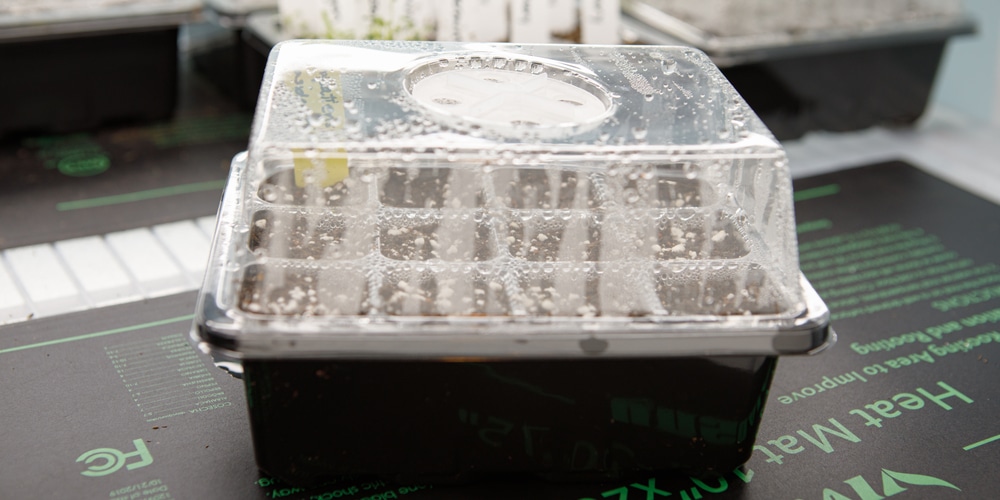
You may have heard about humidity domes, propagators, and greenhouse covers and how they can help you attain higher seed germination rates. For those who already have one, you might be wondering when to vent humidity dome for air circulation.
A humidity dome presents several benefits compared to a regular seed starting tray. However, you’ll need to know when to vent, or air out the environment so your seedlings won’t overheat and die prematurely.
When Should I Remove the Humidity Dome?

Humidity domes are primarily used to start seeds indoors and within a controlled environment. The structure creates a ‘greenhouse effect’ by trapping heat and moisture inside, thereby creating an optimal condition for seeds to sprout.
The dome, or cover, traps moisture and improves humidity levels, which is one of the requirements to achieve a high germination rate. It also has the side benefit of keeping pests and insects away and reducing the need to mist or water the soil to keep it moist.
Some humidity domes will have ‘vents’, or openings that you can use to allow air inside. Otherwise, users will have to manually remove the cover or lid to get the same effect.
You’ll know when to vent the humidity dome or remove the cover when the first part of the seed-growing process is over, specifically sprouting the seeds.
It’s recommended that you vent to allow air to circulate through your seedlings and to avoid mold. Seedlings won’t need as high a humidity as before- they now need sunlight and room or outdoor temperature to continue growing.
Venting can be done once a day and when the room temperature is hot. This ensures that the seeds or small starts won’t die of heat and/or too much moisture in the soil and environment. You can remove the cover if the seedlings are ready for more light and won’t need to stay in a humid atmosphere.
How to Use a Humidity Dome
A humidity dome is a must for gardeners who want to achieve a high seed germination rate. It’s also a recommended seed-starting tool for those who don’t have the time nor the patience to monitor soil moisture and humidity levels.
Using a humidity dome is fairly easy, and it’s similar to planting a seed in a container. Here’s a step-by-step guide to getting it done.
Step 1. Fill the Tray with Soil
The best soil medium for starting seeds in a humidity dome is regular seed-starting soil. Start by filling up the cells with the mix and spraying them with water to moisten them. Add more when the soil begins to sink, then stop when you reach a few centimeters at the top.
Do not add fertilizer yet as the seeds won’t need it at this stage.
Step 2. Sow Your Seeds
Sowing your seeds into the humidity dome may be a bit trickier since every plant will have its own recommended depth. Some will need to be sowed an inch or two deep, while others will be fine being sprinkled at the soil surface.
In addition, you may need to make small indentations or tap the seed lightly so it makes contact with the soil. If unsure, follow the directions on the seed packet.
Step 3. Moisten the Seeds and Water
Watering seeds in trays should be done carefully since there’s a chance that the seed will be disturbed or dislodged from its place. You can use a spray that is set to wide, a water bottle with a hole in the cap, or via bottom watering. To do this, you’ll need a pan that has water, then slowly lower the seed tray until the soil is visibly wet.
One advantage of using a humidity dome is that you won’t need to water as much.
Step 4. Vent the Dome as Necessary
Venting can be done when the weather gets hot and at noon. During this time, you don’t need to expose the seed to direct sunlight, so it’s best to keep it indoors and in an area that gets bright light.
You can allow air to circulate once in a while during the seed stage, and more often if the seeds have started to germinate. Then, you can remove the dome if you have seedlings and will be moving them outside or onto direct sunlight.
Related article: Does a Humidity Dome need Holes to Function Properly?
