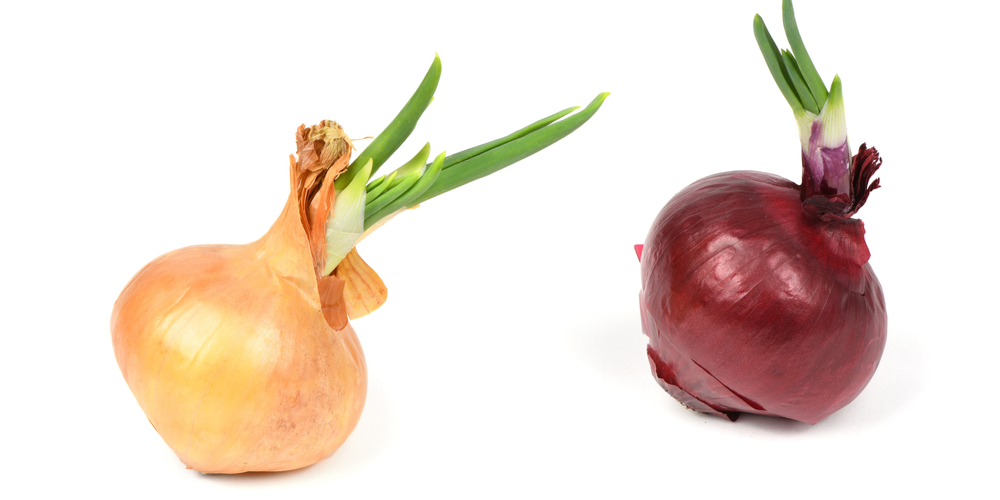
You may have encountered a situation plenty of times where you bring home a bag of fresh onions only to find out that a couple of them have put out green shoots after a week or two. And, you aren’t sure what to do with them.
So, can you still eat them, or throw them away? Or, even plant them? However, planting sprouted onions isn’t hard at all.
And, all you need to do is a bit of prep work before you grow a brand new onion in your garden. In this post, you get to know how to plant sprouted onions the right way.
Can you plant sprouted onions?

Yes, it is possible to grow an onion plant from a sprouted onion. Sometimes, you can even have three new onions from a single sprouted onion.
However, that doesn’t mean that you should plant it directly on the ground. There are certain steps that you need to take care of.
Besides, when the green leaves of the onion plant become large enough, you can harvest them as well.
You can chop the onion leaves and use them in certain recipes to get that amazing onion flavor. Before you get into how to plant onions with sprouts, it is good to know about the basics.
Not all onions might work well when it comes to planting them. In general, there are three different types of onions:
- Long-day onions – The bulb starts to develop when the plant receives 14 to 16 hours of daylight. These are best for northern latitudes.
- Intermediate-day onions – When the plant receives 12 to 14 hours of daylight, it develops a bulb. These onions are suited best for middle latitudes.
- Short-day onions – Commonly found in the southern latitudes, these types of onions start developing the bulb between 10 and 12 hours of continuous daylight.
For example, if you are from the southern latitude and brought onions grown in the northern latitude, the chances of growing new plants are less. Moreover, if the onions are quite old, they might start to rot from the inside.
That way, if you wish to grow a new plant from the rotten part, the remaining part could rot when the soil has much water in it. If that is the case, you won’t receive great results for your planting efforts.
How to plant a sprouted onion
The green sprout coming out from the onion’s surface indicates that it is trying to regrow. Follow these steps to have the best results when it comes to planting a sprouted onion.
1. Peel the onion
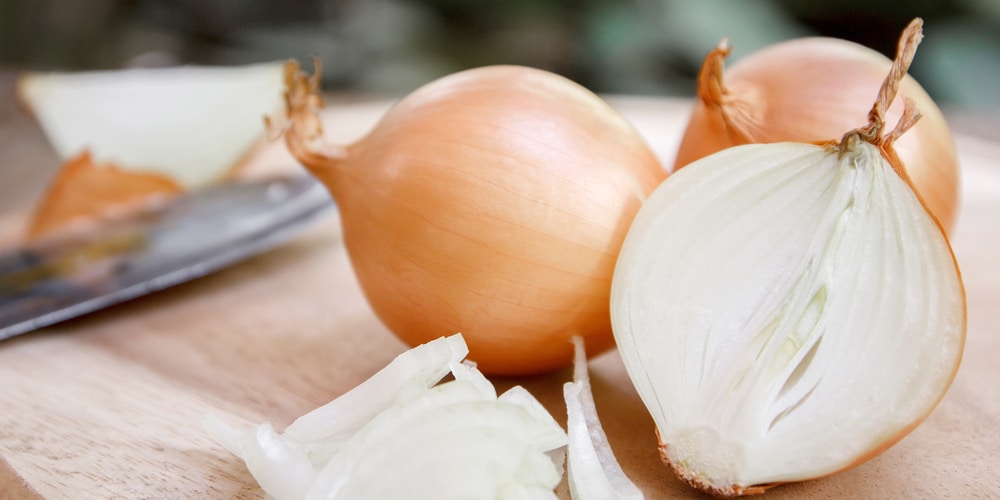
The first step involves peeling the onion layer by layer from top to down. There are chances that some of the outer layers might appear soft and have started to rot. Typically, this is the time when the onion started sprouting. If the layers aren’t rotten yet, you can use them.
Peel down until the green sprouts are visible. After you reach the center of the onion, carefully the additional layers. Continue doing this until it reveals separate plants. In general, you will find three separate plants from each sprouted onion.
2. Use a kitchen knife
The second step involves separating the onion plants. For this, you have a use a kitchen knife. Take the knife and carefully cut them into sections. Keep in mind that each plant should have some portion of roots at its bottom.
3. Soak the sprouts
The third step involves keeping the sprouts soaked in water so that the roots could grow larger. When the onion has been sprouting for some time, the roots at the bottom will be longer.
However, if the onion has just started sprouting, chances are that the roots will be weak and small. That’s why you need to soak the sprouts in water so that it may help the roots grow. Get a small container enough to hold all the sprouts.
Next, pour water into the container in a way that the roots can absorb water with ease. Make sure that the water level covers the roots and only a small part of the sprouts.
4. Make good use of the sunlight
This is the fourth step where you need to place the container in a place that receives a good amount of sunlight. It is an important step after you get the separated sprouts in a container filled with water up to their roots.
Moreover, you can use grow lights if you need them. Also, you have to change the water daily or every two days at an interval to keep the water fresh. When you notice white roots coming out from the bottom while growing underwater, it means the process is working. Keep in mind that this process might take about a week or even more.
5. Remove the sprouts
The fifth step involves moving the sprouts into the soil. When the sprouts have developed stronger roots, they are ready to be moved into the soil. Keep an eye on the sprouts and don’t wait for long to get them transplanted. That’s because water alone is not enough to provide adequate nutrients to the plant.
However, before you move the plant into the soil, mix certain amounts of compost or manure. It will add nutrients to the soil. Besides, compost is crucial if you have clay soil in your garden. Well-drained soil favors onion and adding compost will improve drainage.
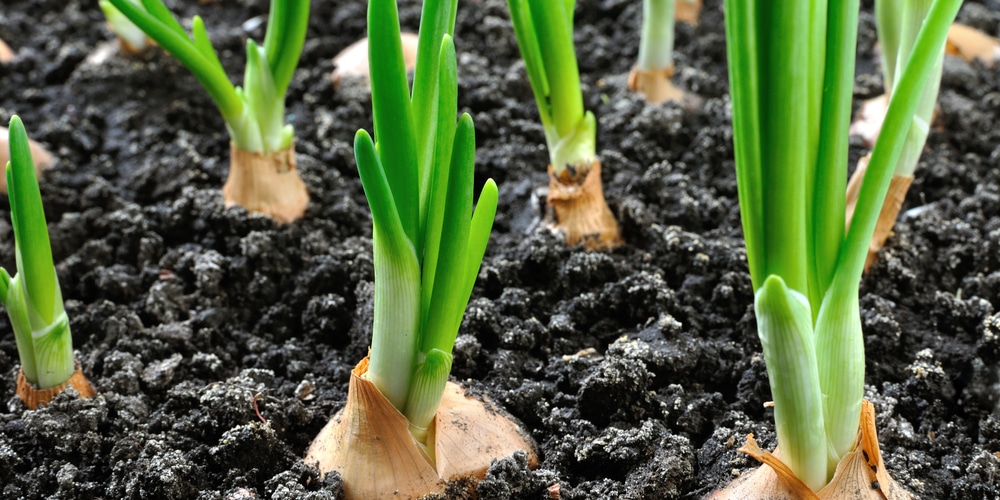
Bury each plant into the soil so that the green part of the plant stays above the ground. Leave a gap of about 4 to 6 inches between the plants. As such, they will get enough room to grow. Make the soil moist by watering regularly.
6. Harvesting onions
This is the last step and it is all about harvesting the onions. When the leaves start to fall over, it means harvesting time is close. When you harvest them, you can expect onions that have tall oval shapes.
However, these onions won’t be large compared to the ones that are grown from seeds.
Planting Sprouted Onions: Final thoughts
Besides, if you are looking to have seeds, keep growing them instead of harvesting them. After some time, the plant will have a tall stalk where flowers will grow. And, black seeds will appear on them.
Related Article: Best Time to Plant Onions in North Texas

