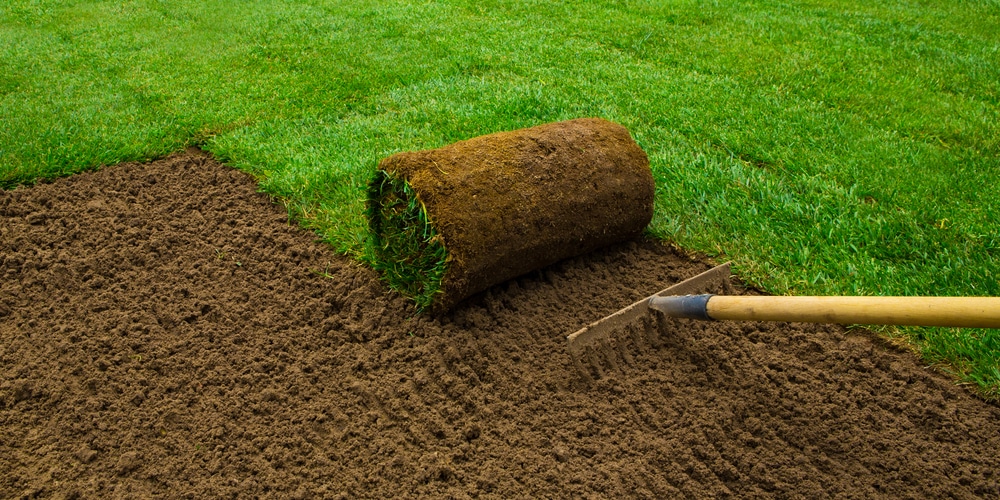
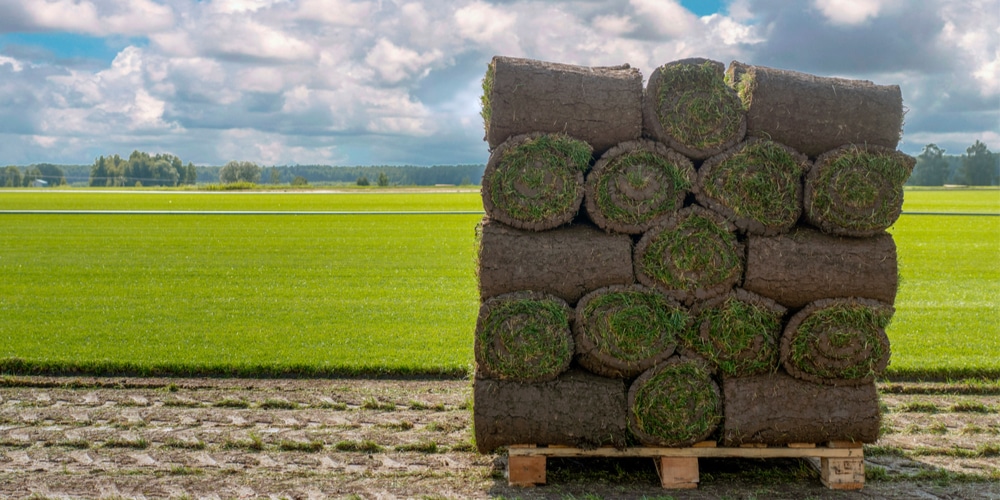
A well-prepared lawn transplant will last much longer than an ill-prepared one. If you want to grow a thriving lawn, you can lay sod, or if your lawns patchy, you can cut pieces of sod to fill in the bare areas. If you want your grass to look good for years to come, here is how to transplant grass to make the job easier and ensure success.
First Step: Preparation
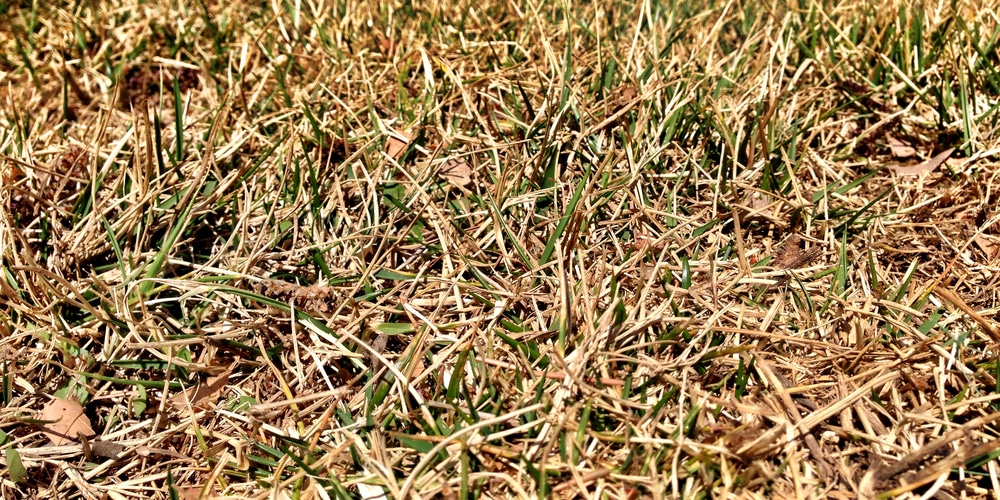
When the weather warms up in spring, start watching for patches of dead grass. They could be caused by pH imbalance, fungus, excess thatch, or just old age or wear and tear. It’s best to catch a patchy lawn early because once the problem spreads across your entire lawn, it may become impossible to correct without starting over with new sod. We also recommend having the soil tested so you know what kind of fertilizer and lime or sulfur additions are needed before you begin planting.
If you’re thinking of adding a new tree, shrub, or flower bed in the lawn, this is the time to plan it out. Use stakes and string to mark off where they’ll go, so you know exactly where they will be once you’re finished with your transplant.
Also, take some time to prepare for this project by understanding how grass seed grows and which direction it spreads so you can maximize the space available for planting. And give yourself plenty of time! Choosing sod, preparing the soil, and taking care of any problems is no small job, so start as soon as possible if you want everything to look its best come summertime.
Second Step: Ordering Sod
Before buying sod to transplant in your grass check to make sure the turf is suited for your type of climate and other growing conditions. For example, overseeding perennial ryegrass seed on top of existing lawns in the fall will give your lawn a great green color and make it thicker and more drought-resistant during the summer heat.
But if you want to prepare an area for sod carefully, this may not be the best choice because many types of ryegrass take too long to root deeply into loose soil before winter sets in. Your best bet would be to use fescue or bluegrass varieties that sprout quickly and cover any open spots as soon as possible before they can’t get enough sun during cool fall temperatures.
Third Step: Choosing Sod Type
Turf-type tall fescue is by far the best type used for transplanting because it grows quickly in the fall, and its deep roots are able to withstand heavy traffic during the summer months. You’ll need to plant cool-season grass if you live in an area that gets cold winter weather, particularly if frost and snow are common.
Cool-season grasses are cold resistant and can survive even under a blanket of snow. They need to be planted in the early fall so that they can establish a deep root system by winter.
If, on the other hand, you live in an area with scorching summers, you’ll need a variety of grass that’s hardy and drought-resistant. Choose warm-season grass such as St. Augustine, centipede grass, zoysia, or Bermuda grass.
Fouth Step: Preparing Sod & Soil
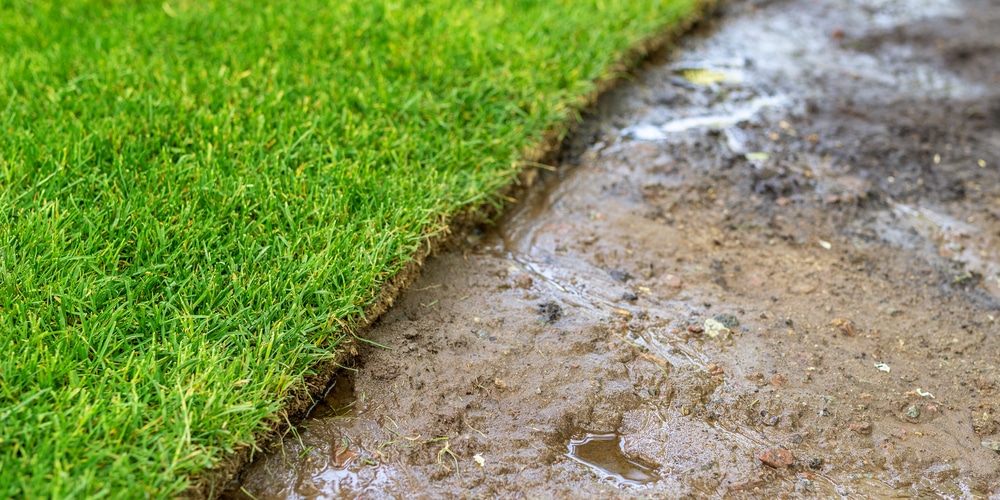
Before placing sod, check for any white spots that could be harmful grass diseases, crabgrass, or moss. If you see any of these things, use an organic spray to rid your area of them before installing new grass. You can then roll up pieces of sod into 4-foot-wide rolls and store them in shady areas for 24 hours if necessary before laying them down on soil prepared by amending topsoil with compost.
Fifth Step: Plant Sod Carefully
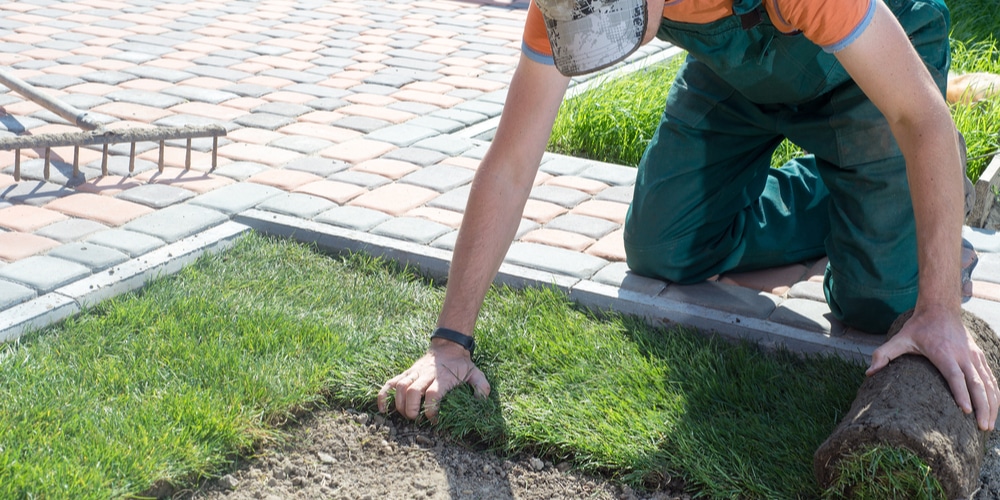
Make sure the original edge of the sod is cut straight across to make it easier to place the thin side against the soil. Be sure not to pull pieces up vertically when stretching them out because grassroots are very thin at the tips and will dry out quickly if exposed.
Lastly, use your hands or a shovel to press down around the edges of each piece of transplanted sod about an inch deep before watering it thoroughly. Then water every few days until roots have established themselves, which usually takes two weeks. Then you can go back to your normal watering routine.
Conclusion: How to Transplant Grass
Good luck!
A well-prepared lawn transplant will last much longer than an ill-prepared one. If you want to grow a thriving lawn, you can lay sod, or if your lawns patchy, you can cut pieces of sod to fill in the bare areas. If you want your grass to look good for years to come, here is how to transplant grass to make the job easier and ensure success.
First Step: Preparation

When the weather warms up in spring, start watching for patches of dead grass. They could be caused by pH imbalance, fungus, excess thatch, or just old age or wear and tear. It’s best to catch a patchy lawn early because once the problem spreads across your entire lawn, it may become impossible to correct without starting over with new sod. We also recommend having the soil tested so you know what kind of fertilizer and lime or sulfur additions are needed before you begin planting.
If you’re thinking of adding a new tree, shrub, or flower bed in the lawn, this is the time to plan it out. Use stakes and string to mark off where they’ll go, so you know exactly where they will be once you’re finished with your transplant.
Also, take some time to prepare for this project by understanding how grass seed grows and which direction it spreads so you can maximize the space available for planting. And give yourself plenty of time! Choosing sod, preparing the soil, and taking care of any problems is no small job, so start as soon as possible if you want everything to look its best come summertime.
Second Step: Ordering Sod
Before buying sod check, the turf is suited for your type of climate and other growing conditions. For example, overseeding perennial ryegrass seed on top of existing lawns in the fall will give your lawn a great green color and make it thicker and more drought-resistant during the summer heat.
But if you want to prepare an area for sod carefully, this may not be the best choice because many types of ryegrass take too long to root deeply into loose soil before winter sets in. Your best bet would be to use fescue or bluegrass varieties that sprout quickly and cover any open spots as soon as possible before they can’t get enough sun during cool fall temperatures.
Third Step: Choosing Sod Type
Turf-type tall fescue is by far the best type used for transplanting because it grows quickly in the fall, and its deep roots are able to withstand heavy traffic during the summer months. You’ll need to plant cool-season grass if you live in an area that gets cold winter weather, particularly if frost and snow are common.
Cool-season grasses are cold resistant and can survive even under a blanket of snow. They need to be planted in the early fall so that they can establish a deep root system by winter.
If, on the other hand, you live in an area with scorching summers, you’ll need a variety of grass that’s hardy and drought-resistant. Choose warm-season grass such as St. Augustine, centipede grass, zoysia, or Bermuda grass.
Fouth Step: Preparing Sod & Soil

Before transplanting your grass, check for any white spots that could be harmful grass diseases, crabgrass, or moss. If you see any of these things, use an organic spray to rid your area of them before installing new grass. You can then roll up pieces of sod into 4-foot-wide rolls and store them in shady areas for 24 hours if necessary before laying them down on soil prepared by amending topsoil with compost.
Fifth Step: Plant Sod Carefully

Make sure the original edge of the sod is cut straight across to make it easier to place the thin side against the soil. Be sure not to pull pieces up vertically when stretching them out because grassroots are very thin at the tips and will dry out quickly if exposed.
Lastly, use your hands or a shovel to press down around the edges of each piece of transplanted sod about an inch deep before watering it thoroughly. Then water every few days until roots have established themselves, which usually takes two weeks. Then you can go back to your normal watering routine.
Conclusion: How to Transplant Grass
If you have established an established yard, you can put sod over grass.
Good luck!
