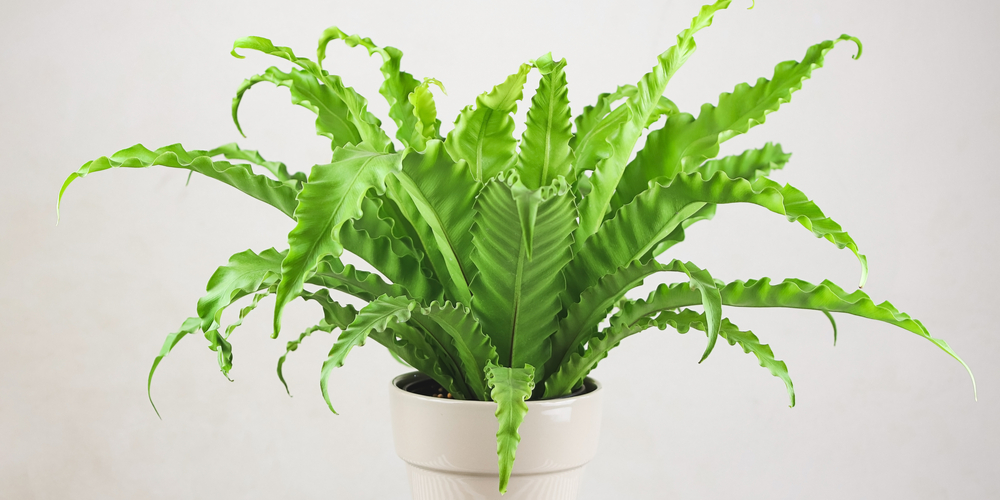
Ferns are the ideal houseplant if you are looking for something that will grow dense and brighten your house with an attractive green color. Many people like to grow them in hanging pots on their front porches or inside their houses to recreate a “jungle” effect.
While you can find ferns in different sizes and shapes, most will grow dense under the proper care and conditions. Thus, you will probably have to cut back your ferns to maintain their shape and give them an attractive form.
If you are wondering how to prune ferns, don’t worry. In this essential guide, we included the process step by step. Read our recommendations to learn all you need to know to keep your ferns in shape!
How To Prune Ferns
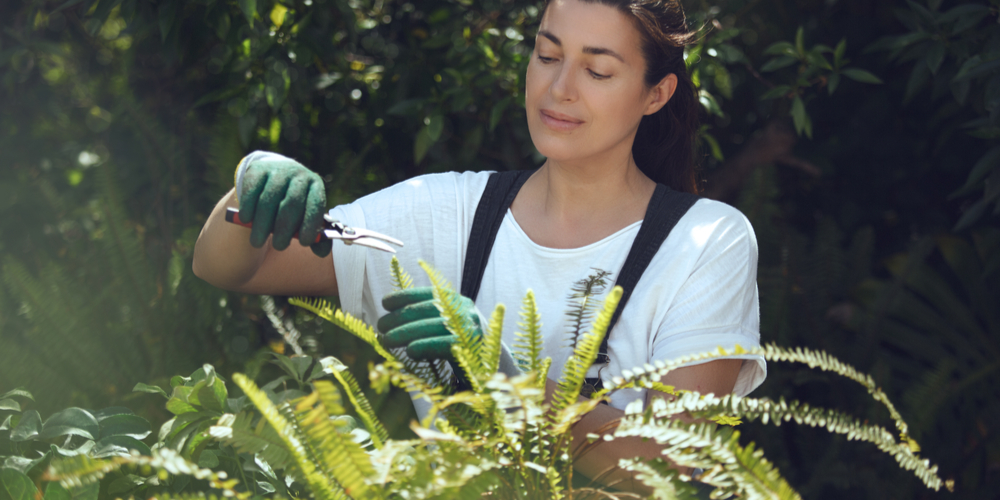
The good news is that these plants are easy to prune. To ensure healthy growth (and looks), prune ferns during the spring or summer. You can even tri the edges of your plant to create shapes: unleash your creativity! To avoid making mistakes and damaging your plant, make sure you follow our tips. Also, don’t forget to cut unhealthy and dead fronds as soon as they appear.
1. Check With your Plant’s Requirements
There are several types of ferns. While most have similar needs, you may want to double-check your plant’s requirements concerning pruning. We said to prune your plant in the spring or summer, but some species might not recover from pruning before time.
If you are growing your fern outdoor, check your plant’s requirements. Also, avoid pruning before winter, even if you notice some dying fronds at the end of the summer. Avoid removing them as they serve as protection to your plant’s roots during the winter.
For indoor ferns, you can cut dead fronds as they appear. Cut them near the base using a sterile pair of scissors or shears. While sterilizing might sound like too much work, it will prevent your plant from catching a disease or getting infected by a fungus.
2. Cut The Fronds
Once you check your fern’s pruning requirements, pick a pair of sterile scissors and cut the foliage above the crown when it’s time to do so. Remove old leaves, which don’t look as attractive as the new to improve the looks of your plant. Cut fronts that look sad or unhealthy too.
Indoor, your fern might be susceptible to scale attacks. If you notice yellow and weak leaves, remove them as soon as possible to limit the spread of the disease. If the infestation is severe, you may have to spray your plant with an insecticide.
3. Trim Dead Branches
Always wait for new growth to come before eliminating dead branches. Otherwise, your plant won’t have the energy to produce new growth. The result will be a bare fern.
If you are growing your plant in a hanging pot, you also may have to chop roots that start to come out of the vase. Cut them near the soil to ensure they don’t drain energy from your plant.
4. For shaping, Trim The Edges
If you are trying to grow your fern in a particular shape, trim the edges until your plant resembles what you have in mind. You can use kitchen shears for this process, but don’t forget to sterilize them before cutting your plant! Also, don’t forget to remove old and unhealthy-looking fronds before trimming for best results.
How To Prune Ferns: The Bottom Line
Pruning is crucial to ensure the health of your ferns. Whether you grow your plants as household plants or in your garden as hedge plants, you will have to remove old growth and keep your ferns in shape. Not only will this improve your fern’s looks, but it will also ensure healthy growth.
As you should have noticed with this guide, the process is not challenging. However, it can be messy: if you can move your plants outdoors and place some old newspaper underneath your working area to catch the residuals of trimming and cutting.
While you should eliminate unhealthy branches, it is always a good idea to identify what might be causing them to turn brown or yellow. Doing so will allow you to take proper measures to reverse the problem. Still, even a healthy fern requires regular pruning to grow and thrive.
Related Article: Can Ferns Take Full Sun?

