Hey there, plant enthusiasts! Today, I’m thrilled to share with you three super simple and reliable methods to propagate your beloved snake plants. Whether you’re a seasoned gardener or just getting started, these steps will make sure you never struggle with propagating Sansevieria again.
We’ll dive into water propagation, soil propagation, and propagation by division. Plus, stick around till the end for a special tip on how to water your snake plants so they always thrive.
Ready to give your green thumb a workout? Let’s get going!
Key Takeaways
- Learn three easy ways to propagate snake plants.
- Understand the importance of proper watering.
- Discover how to keep your propagated plants thriving.
500 Ft View of Propagation Methods
Propagating a snake plant is a rewarding activity, and there are three proven methods we’re going to cover:
- Water Propagation
- Step 1: Ensure the parent plant is healthy. Water it a couple of days prior if the soil is dry.
- Step 2: Sterilize pruners with rubbing alcohol.
- Step 3: Take a cutting from the base of the leaf.
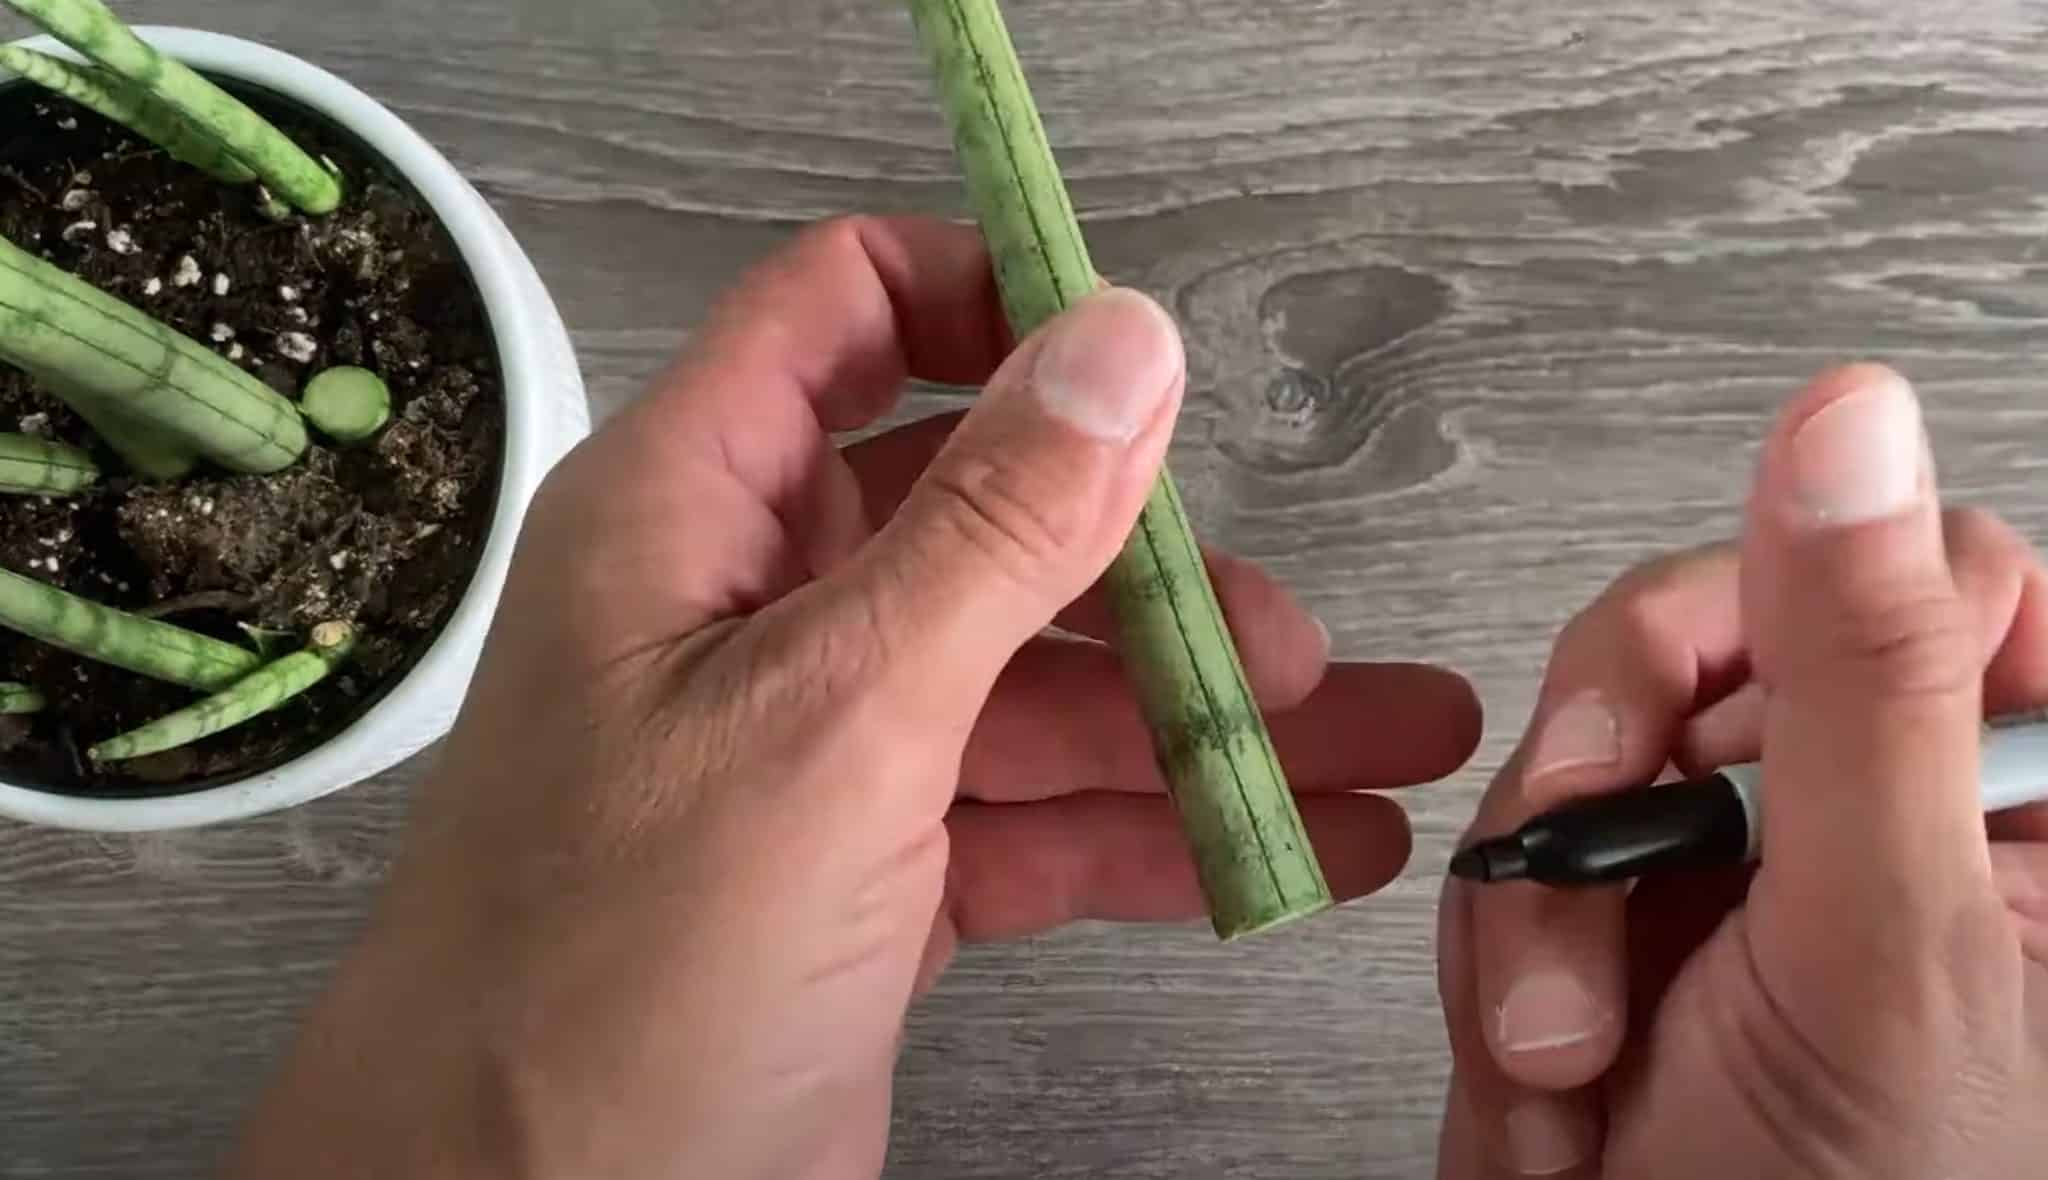
- Step 4: Cut the leaf into 2-inch segments and mark the bottom of each.
- Step 5: Allow the cuttings to callus over for 2-5 days.
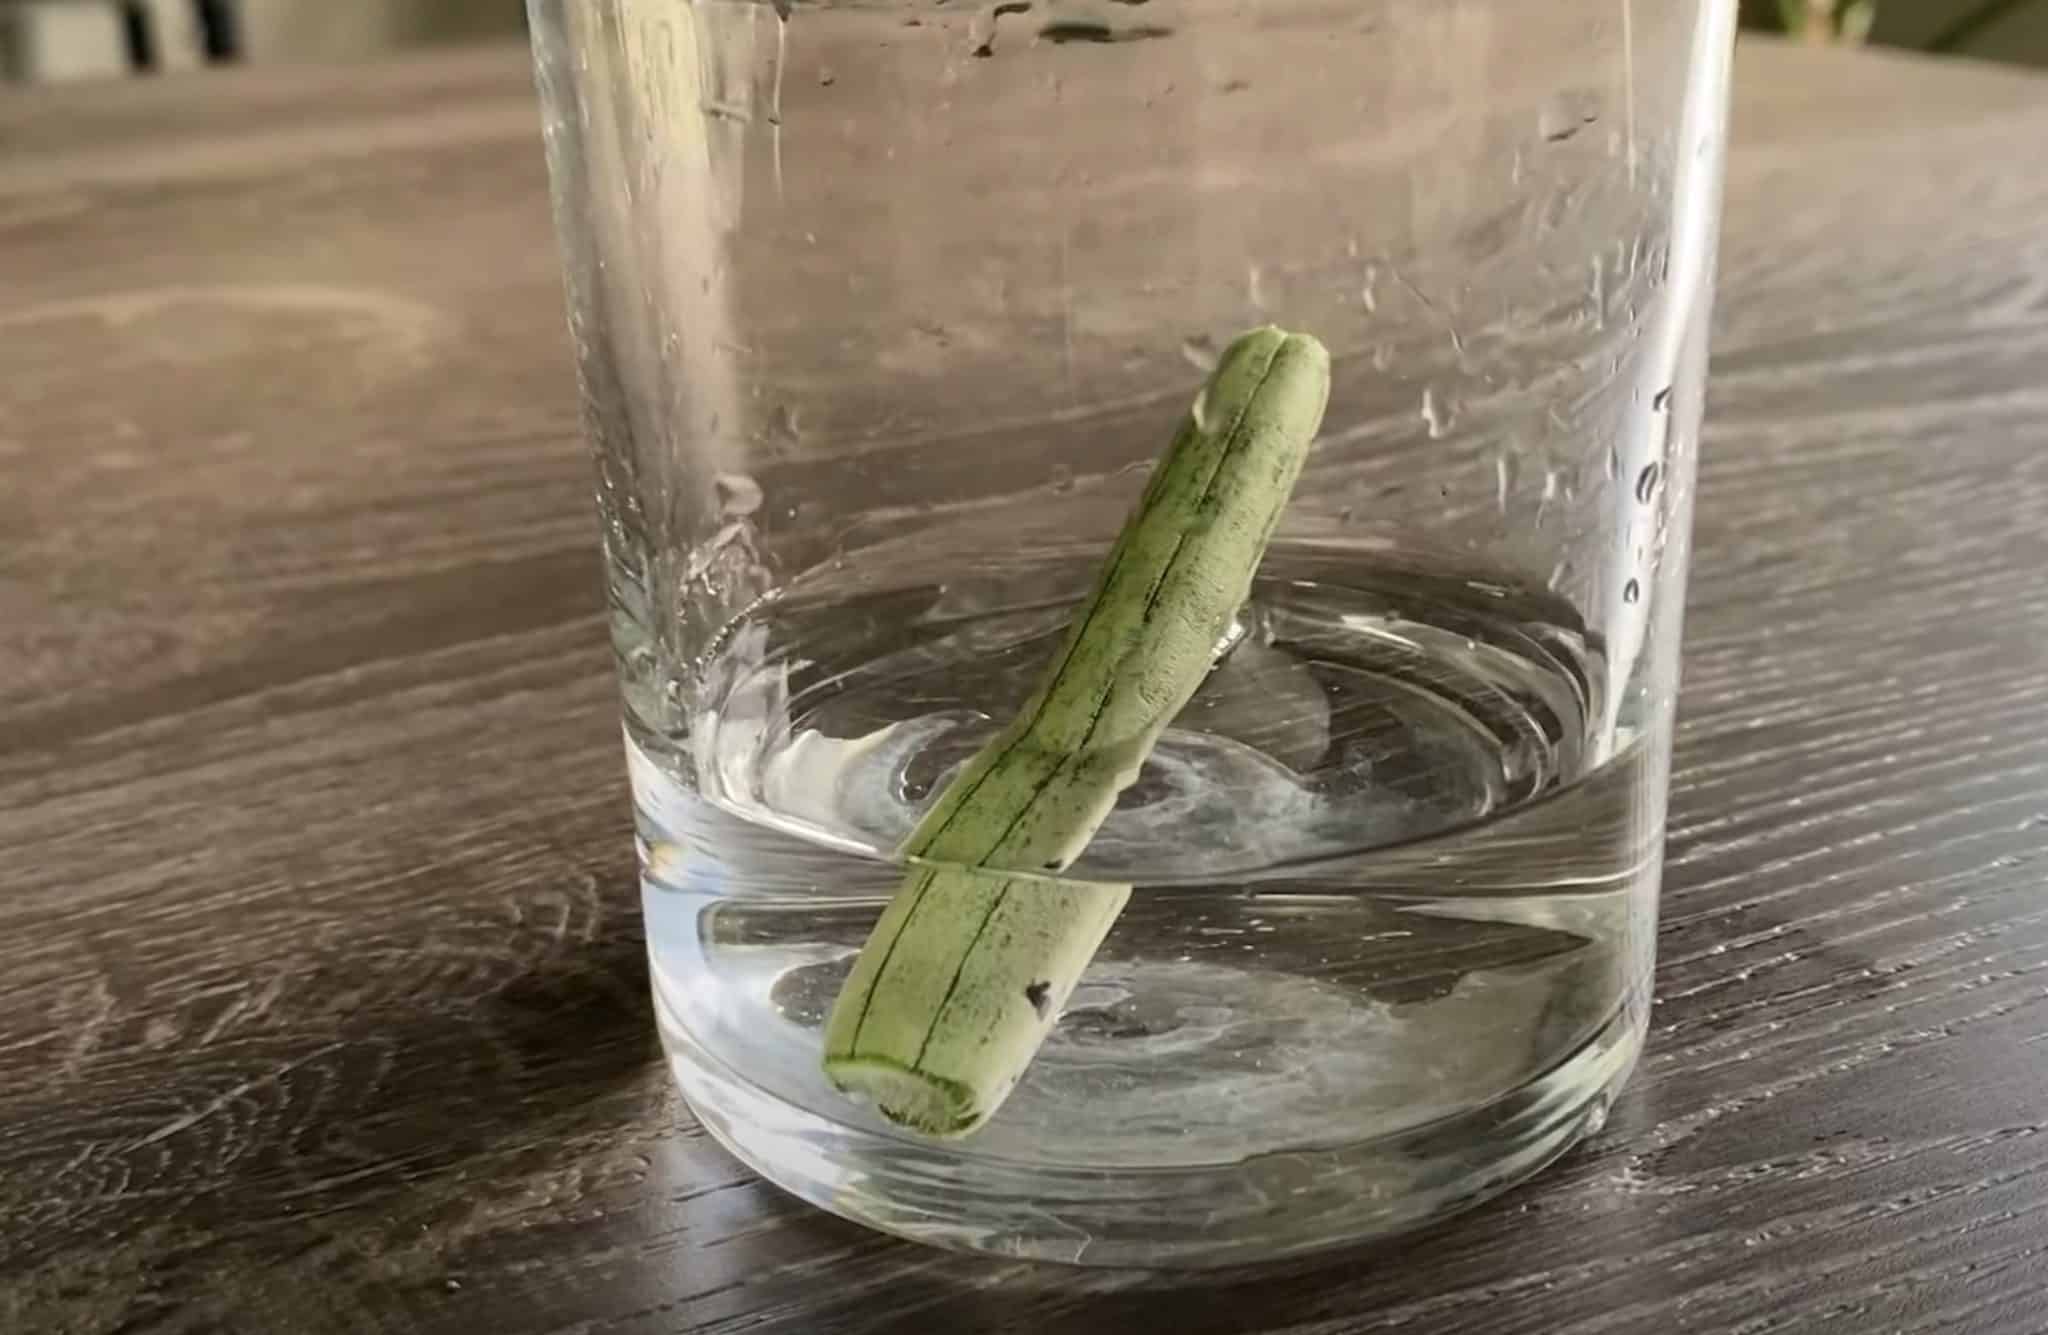
- Step 6: Place the segments in a water-filled bowl or cup with the cut side down.
- Step 7: Change the water weekly and keep the cuttings in indirect light. Roots should appear in 3-6 weeks.
- Soil Propagation
- Step 1: Just like water propagation, start with a healthy plant and hydrate it in advance if necessary.
- Step 2: Sterilize your pruners.
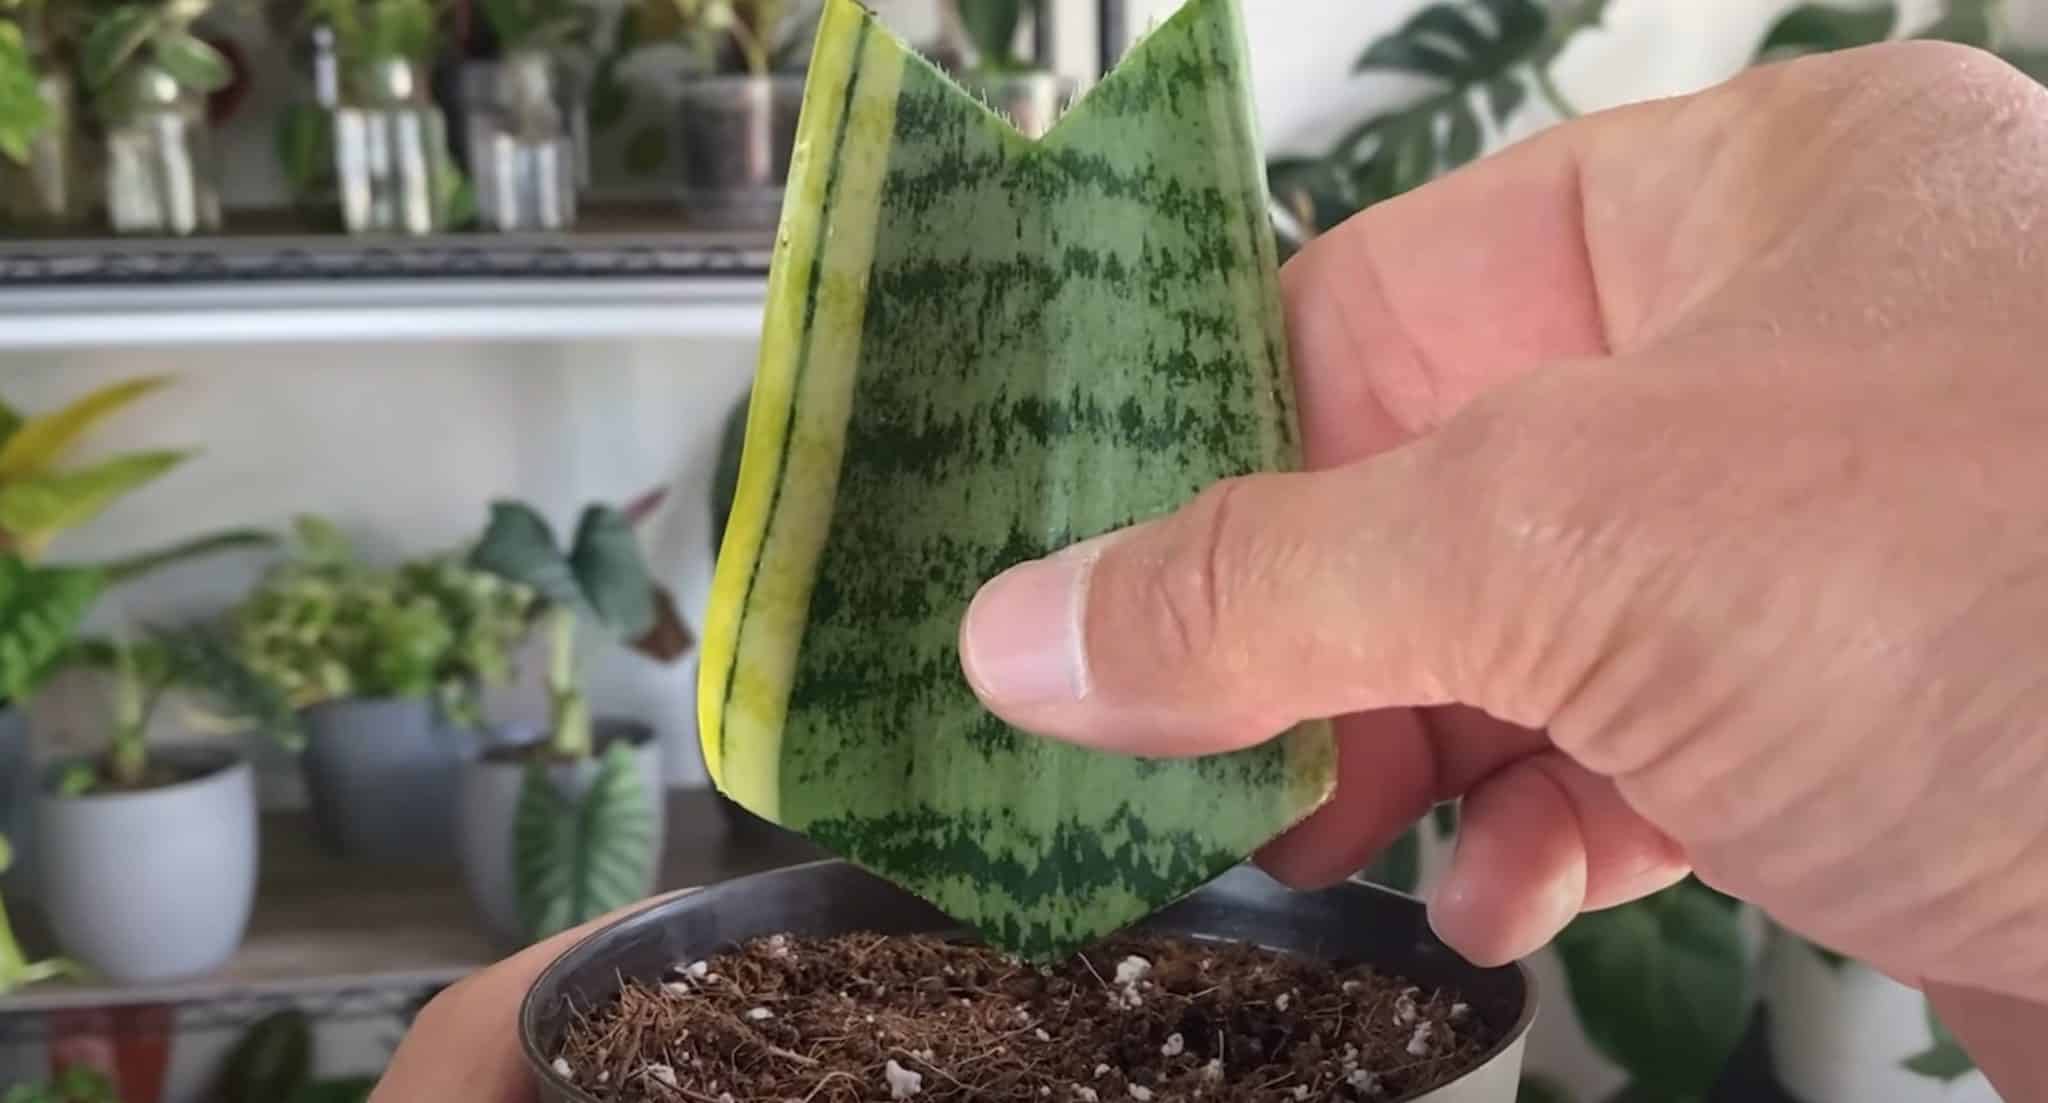
- Step 3: Take and prepare the cutting, making an upside-down V-cut at the base.
- Step 4: Allow the cuttings to callus over for 2-5 days.
- Step 5: Use a mix of one-third peat, one-third coir, and one-third perlite for optimal soil.
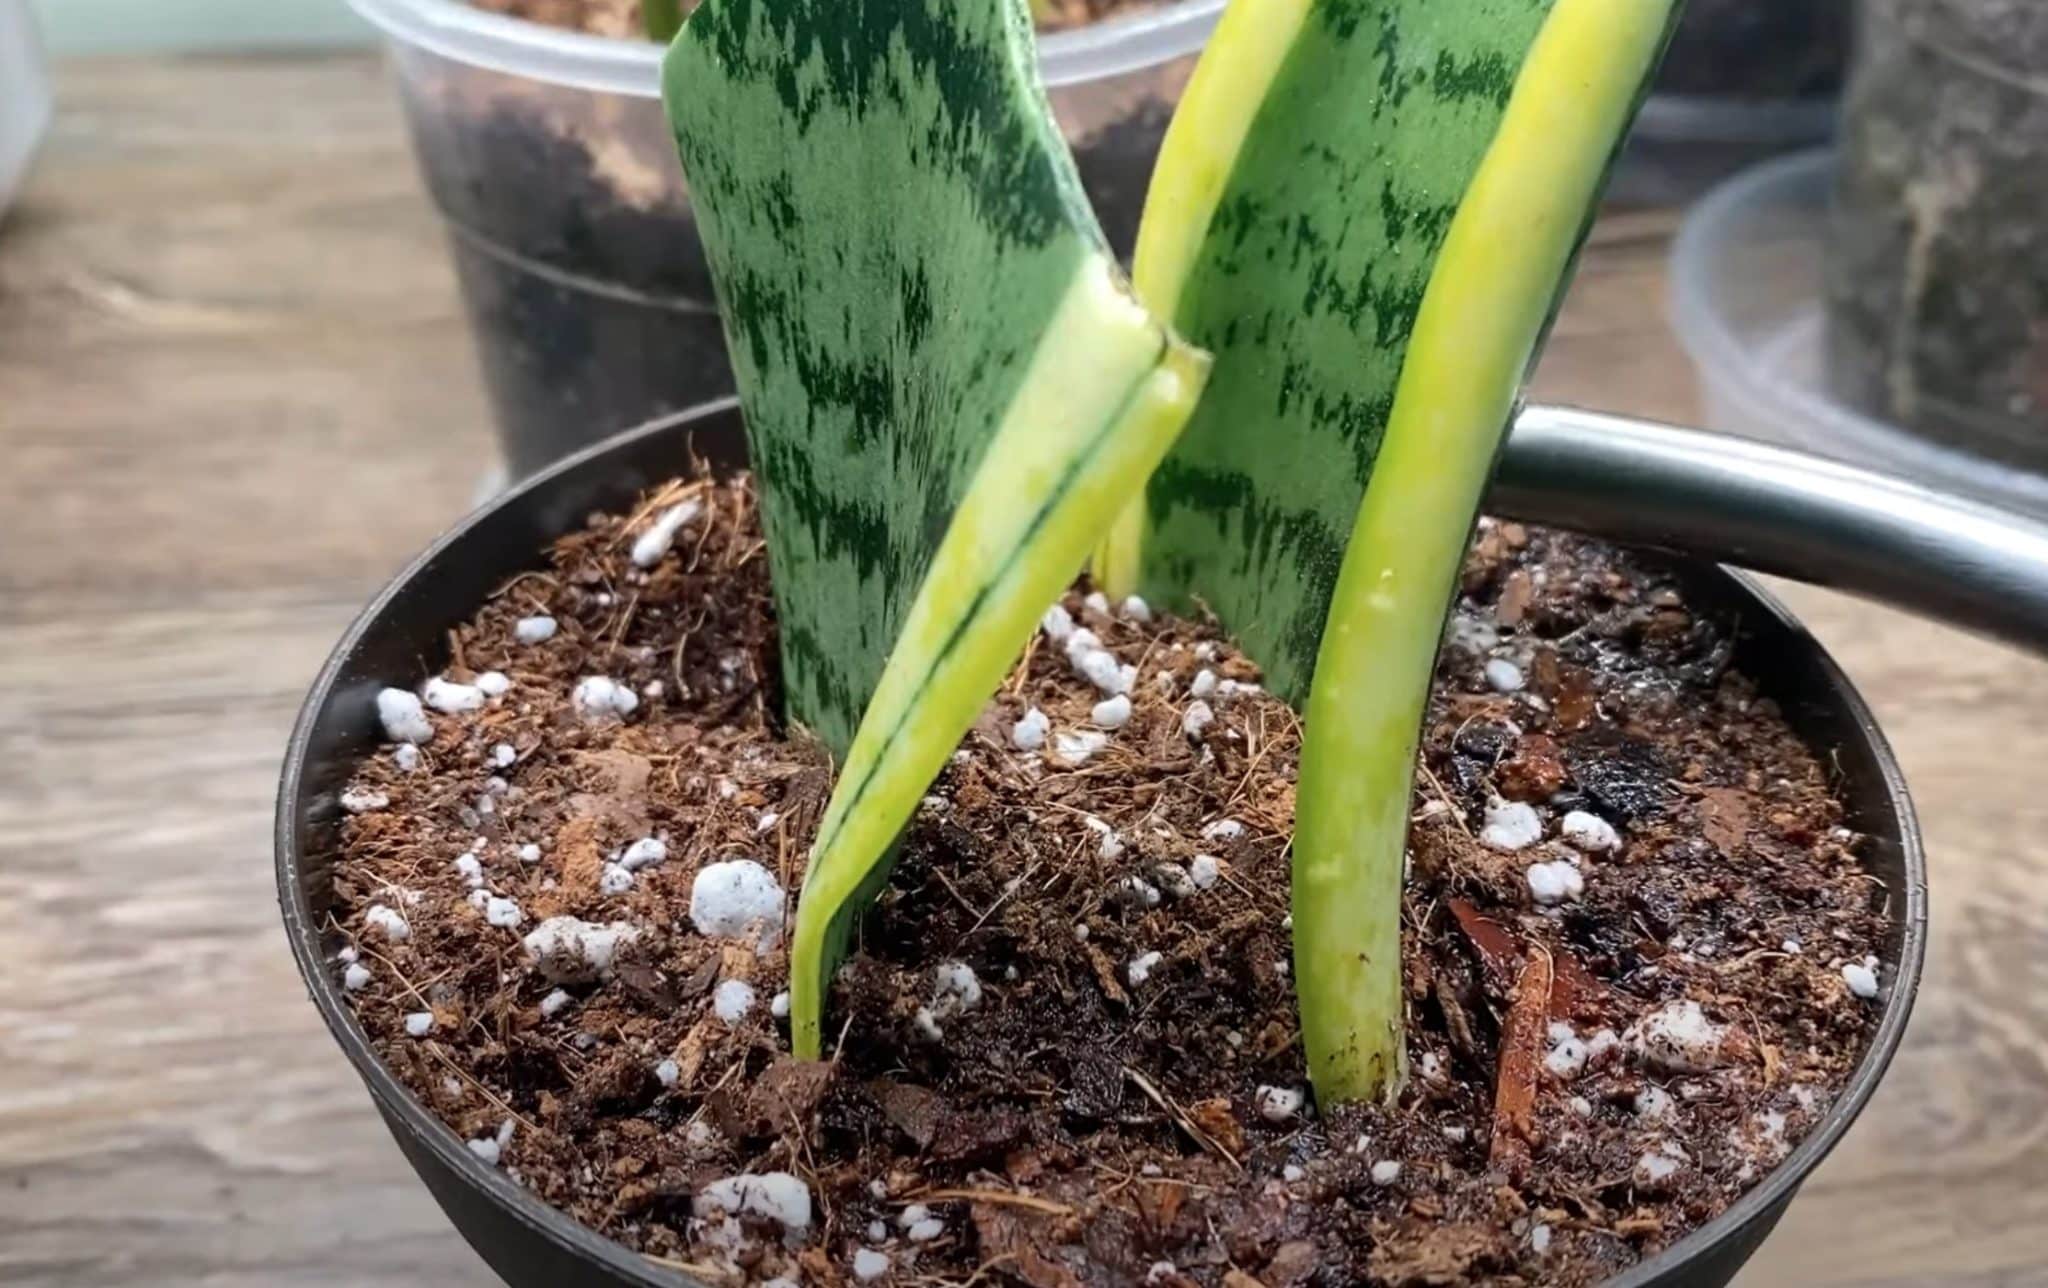
- Step 6: Fill the pot, make small indentations, and insert the cuttings.
- Step 7: Keep in medium to bright indirect light and wait patiently for roots to form (around three months).
- Propagation by Division
- Step 1: Identify and carefully dig out a pup from the main plant.
- Step 2: Ensure the pup has roots before separating.
- Step 3: Use sterilized pruners if necessary to detach.
- Step 4: Prepare a pot with a soil mix containing organic materials and perlite for good aeration.
- Step 5: Plant the pup in the pot making sure it is centered.
- Step 6: Place in medium to bright indirect light.
Pro Tip: Only water your snake plants when the soil is completely dry. Over-watering can lead to root rot.
Water Propagation
Selecting a Vibrant Plant
- Always take cuttings from a Sansevieria that’s in good health.
- If the soil is drying out, water the plant a few days before taking the cuttings.
- Choose a cutting that is not too old to maintain the plant’s aesthetic balance.
Getting the Cuttings Ready
- Disinfect your pruning tools with rubbing alcohol to prevent disease spread.
- Make a clean cut at the base of the leaf.
- Cut the leaf into segments at least two inches long.
- Mark the bottom of each segment with a felt-tip marker to identify the orientation.
- Allow the cuttings to callus over for two to five days.
The Process of Water Propagation
- Use a cup for short cylindrical cuttings or a bowl for flat leaf varieties.
- Fill the container with water.
- Place the cuttings at an angle, bottom end down.
- Put the container in an area with medium to bright indirect light.
- Change the water weekly.
- Roots will appear within three to six weeks.
Nurturing Water-Propagated Cuttings
- Keep an eye on variegated varieties as they may revert to their green color.
- Be cautious when transplanting cuttings from water to soil to avoid losing them.
- Consistently keep water at the right level and monitor for root development.
Growing Plants in Soil

Preparing Your Cuttings
- Choose a healthy plant.
- Water it a few days before taking cuttings.
- Use sterilized pruners to cut at the base of a leaf.
- Create segments with an upside-down v-shape at the base.
- Leave cuttings for 2-5 days to form calluses.
Mixing the Soil
- Use equal parts peat, coco coir, and perlite.
- This mix will ensure good drainage and water retention.
- Fill your pots with soil and slightly compact it.
Planting the Cuttings
- Make small holes in the soil for your cuttings.
- Insert the callused cuttings into the holes.
- Compact the soil around each cutting.
- Place the pots in medium to bright indirect light.
Taking Care of Your Soil Propagation
- Ensure soil remains slightly moist, but not waterlogged.
- Be patient; rooting may take some time.
- Watch for new growth and roots after a few months.
- Maintain adequate light to encourage healthy development.
Dividing a Snake Plant

Splitting the Shoots
Start by gently digging around the base to expose the pup. This pup should be attached to the main plant by a rhizome. Ensure your pruners are clean, then cut the pup from the mother plant.
- Sterilize: Use sanitized pruners to avoid disease.
- Detachment: Carefully sever the pup, ensuring it has roots.
- Pot Check: Ensure the new pot is appropriately sized for the roots.
Potting the Fresh Sprout
Choose a pot with good drainage. Prepare your soil mix with organic materials and added perlite for aeration.
- Add a base layer of soil.
- Place the pup in the center.
- Fill around the roots with soil, leaving space at the top.
- Placement: Medium to bright indirect light is best.
- Watering: Only water when the soil is completely dry.
Giving Your Snake Plants Water
Ideal Times for Watering
- Avoid frequent watering: Too much water can harm your snake plants.
- When soil is bone dry: Only water after the soil is completely dry from top to bottom.
- Monitor indoor humidity: If it’s humid, your snake plants will need even less water.
Techniques for Watering
- Thorough soaking: When you do water, give the soil a deep soak.
- Bottom watering: Place the plant pot in a container filled with water and let it absorb moisture from the bottom up.
- Watch the drainage: Ensure excess water drains out to avoid root rot.
Last update on 2025-04-03 / Affiliate links / Images from Amazon Product Advertising API


 of Propagation Methods