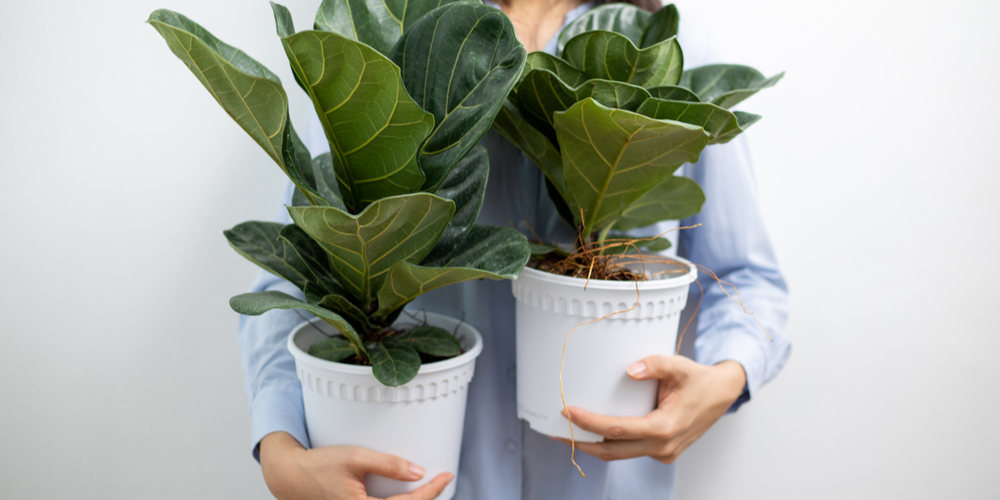
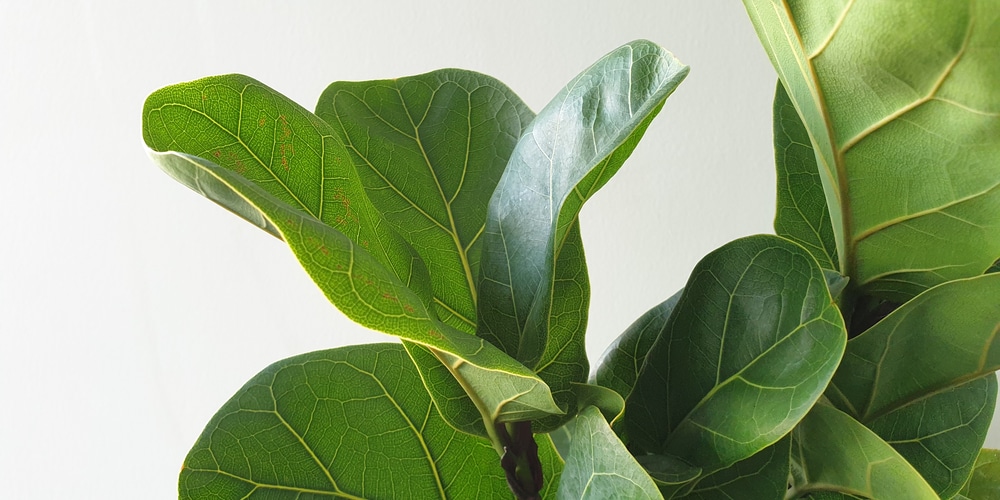
If you want to enliven your living space, the fiddle leaf fig is a no-brainer addition. Its broad leaves and sturdiness are reminiscent of rainforests and adventurous landscapes. Meanwhile, it’s an indoor plant with easy upkeep. But what if one is not enough? Not to worry, in this article we’ll discuss how to propagate a fiddle leaf fig.
Water Method
Several methods for propagating the fiddle leaf fig exist. A low-effort technique is to put a cutting into a jar of water. The cutting might grow roots after several weeks. But this method is unreliable. Propagation has the best chance when roots can soak in oxygen. It is also unlikely that a leaf will develop into a full-fledged plant rather than a lone zombie leaf with roots.
Air-Layering Method
A trickier method, especially for the typical at-home gardener, is air-layering. This technique involves creating small incisions around a plant branch and coating them with root hormone. The branch will grow roots. Afterward, you detach the branch and replant it in a separate pot. This method has better chances than air-layering but is a headache for beginners.
The Best Method: Plant Cutting in Soil
Thankfully, gardeners have developed an easier, more reliable solution to fiddle leaf fig propagation: growing a cutting in soil.
Making the Soil
The first step is to cultivate a soil mix suitable for Fiddle Leaf Fig propagation. This soil should drain excess water but retain enough to encourage the propagation and discourage root rotting. Such soil mixes are available in stores, but you can also create your own.
Some choose to cultivate soil that is half-perlite and half-peat moss. Others opt for a half-perlite and half-vermiculite mix. A mix of half-sharp, non-beach sand and half-vermiculite also works.
Pour your chosen ingredients into a plastic container and mix. A larger container is ideal because fiddle leaf fig roots are stocky and can grow deep. Make sure the container can drain water by poking holes into the bottom.
Make Your Cutting
For the best chances, you will want to cut three nodes from the plant in one go. Nodes are the points where leaves and branches attach to the larger stem. Use sterilized scissors or pruners to remove the nodes, cutting a few inches below the third node.
You might notice a milky sap emerge after you cut the nodes. This sap poses a minor risk of irritating the throat when ingested or the eyes, so be careful.
Acquire some root hormone, which speeds up the rooting process, if possible. Dip the end of your cutting into the root hormone. Brush off the excess.
Start Propagating
Return to your soil mix and water it thoroughly. Drill a hole into the soil with a pencil. Pre-drilling can prevent wasting root hormone and damaging plant tissue. Now you are ready to insert the cutting.
Cut the bottom leaves on your new plant. Try to avoid damaging the stem. Insert these leaves in the same pot until they are one-third deep. If the leaves need more reinforcement to stand straight, push soil around their stems to create support.
After this step, cover your propagating plant with a paper bag and begin misting the plant daily. The leaves mustn’t lose too much water at this stage. If you suspect they are losing moisture too quickly, cut the leaves in half.
During this process, refrain from overwatering the soil, which causes roots to rot. Put the plant in indirect but bright sunlight.
Under the right conditions, the plant should take root in four to six weeks. Watch out for buds, which could start growing at the plant nodes.
Repot Your Plant
Now it’s time to repot your new creation in a planter. One around the size of a gallon should suffice.
Line the bottom of the planter with soil. Consider placing mesh or broken porcelain on top so the soil holds water better. Dangle the plant into the pot and pour soil around it.
You can use the same soil mix from before but add more peat to encourage water retention. Otherwise, you can buy a propagation mix from the store.
Treat your new fig leaf plant just like its mother. Keep the plant in bright, indirect sunlight. Ensure the soil is damp but not overly wet. Mist the leaves from time to time.
Congratulations, you have successfully propagated the fiddle leaf fig! Enjoy this beautiful new addition to your home and care for your plant correctly by watering regularly and providing the right light for your fiddle leaf fig.

