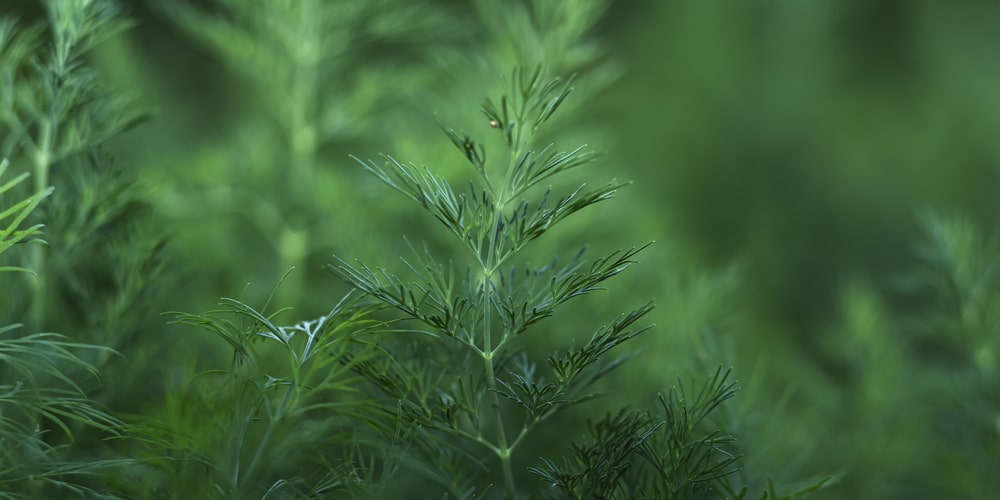
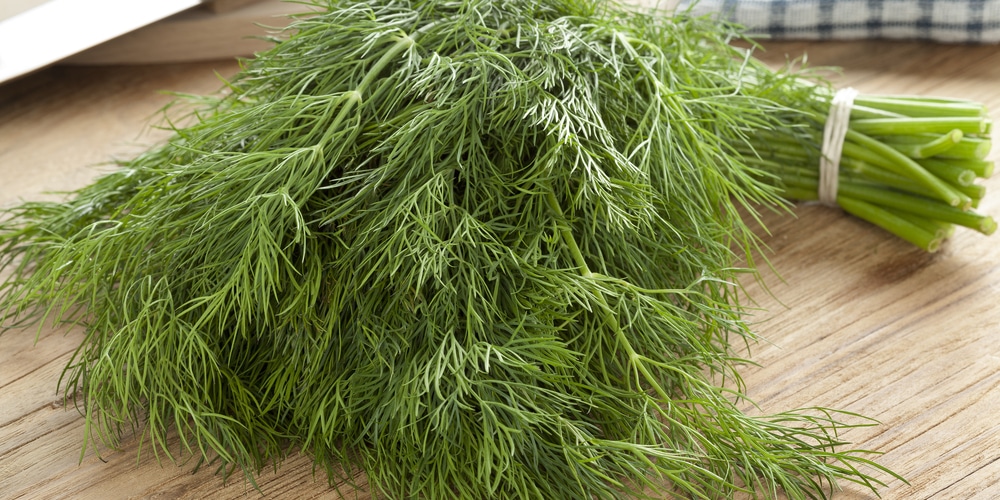
Who doesn’t like to add new flavors to their dishes? And is there anything better than having the opportunity to choose from what you are growing in your garden?
If you have done it before, you should know they taste nothing like the dried ones you may buy at your local supermarket. And the best part is that home-grown herbs are delicious and relatively low-maintenance.
However, most of them are annual, meaning you will have to find ways to “maintain” them. If you love dill, you have landed in the right place to find everything you must know about growing it from cuttings. Here, we’ll analyze the best propagation method for this Southeast Asian native herb!
Can You Grow Dill From Cuttings?
Let’s go straight to the core of the question. You may wonder whether you can successfully grow this delicious herb from stem cuttings. And we have good news for you!
While propagating this herb from seeds isn’t challenging, if you regularly prune your plant, it may never bloom, which minimizes the chance of reproducing your dill plant. But don’t worry: you’ll get satisfactory results using stem cuttings.
So, yes: you can grow dill from cuttings (and even with a high percentage of success). However, remember to consider a couple of factors to get better results. To make things simpler, we collected them all in the following section.
Ideally, after going through this essential guide, you’ll be a master of propagating dill! Use the opportunity to gift this herb to your friends and family: it will be an appreciated present, trust us!
How to Grow Dill From Cuttings

The key to successfully propagating dill with this practice is to choose suitable stems. They must be healthy and strong. Also, you may improve your chances by dipping the ends in growth hormones before placing them in water (or directly into the soil). However, this step isn’t crucial for getting germination.
The easiest way to grow dill from cuttings is to put them in water for a couple of weeks. Don’t forget to regularly change the medium (it must be fresh and clean) every four to five days.
Also, place the vase with water in a location that receives plenty of indirect suns. Avoid exposing it to low temperatures or strong winds. Under the ideal growing conditions, you should be able to see roots after two or three weeks.
When the roots are large enough, you’ll have to move your seedling into a container with soil. And while this isn’t much of a science, selecting an adequate substrate will make a considerable difference.
So ensure you pick a well-draining potting mix! Also, keep an eye on the soil pH: it must be between 6.0 and 7.5 to maximize your success!
What More Should You Know About This Practice?
Besides what we mentioned so far, there are a couple more things you should be aware of before propagating dill from cuttings.
For instance, we have mentioned how crucial it is to choose healthy-looking stems, but we didn’t say much about their size. The bigger, the better: they’ll have more surface area to form new roots.
Also, it will be best to choose parts of the plant with green on the top, to speed up the germination process. Additionally, remember to cut the stems at an angle. Doing so will allow them to get more water and encourage better root growth.
It might be worth remembering that regardless of your efforts, not every cutting will survive the propagation process. For this reason, taking more than one stem is a good idea.
On average, only two-thirds of your cuttings will survive. So, keep that in mind. Indeed, you should never expect to have a certain number of plants by the end of the process.
Besides rooting issues, your cuttings might also suffer from the shock resulting from the transplantation. Indeed, you must be very careful when handling your plant. Its roots must be strong enough to survive moving to a different location. After all, they are one of a plant’s most delicate parts.
Also, don’t forget that the best time to propagate dill is in late spring or early summer when the plant is actively growing.
