Growing your own celery at home can feel downright magical, especially when you realize you can enjoy a continuous supply all year long. With just a few household items, a little patience, and these straightforward steps, you’ll be harvesting fresh, crunchy celery without ever leaving your porch or patio.
But First: Why Grow Celery in a Pot?
Growing celery in a pot offers more control over soil quality, watering, and exposure to pests. Plus, it’s an excellent space-saving solution if you don’t have a large garden. You also gain the freedom to move your celery indoors or to a sunnier spot if the weather or season demands it.
Many people assume celery needs a massive garden plot. That’s far from true. Celery has shallow roots, which makes it an ideal candidate for container growing. As someone who has tried it both in-ground and in pots, I can attest that container-grown celery can be every bit as productive and delicious.
Another bonus? Container gardening allows you to adjust conditions quickly if something’s not quite right. Whether the soil acidity is off or you need more (or less) direct sunlight, just a small tweak in location or soil amendment can correct the problem quickly. That means happier celery plants for you.
Step 1: Starting Your Celery from Seed or Kitchen Scraps
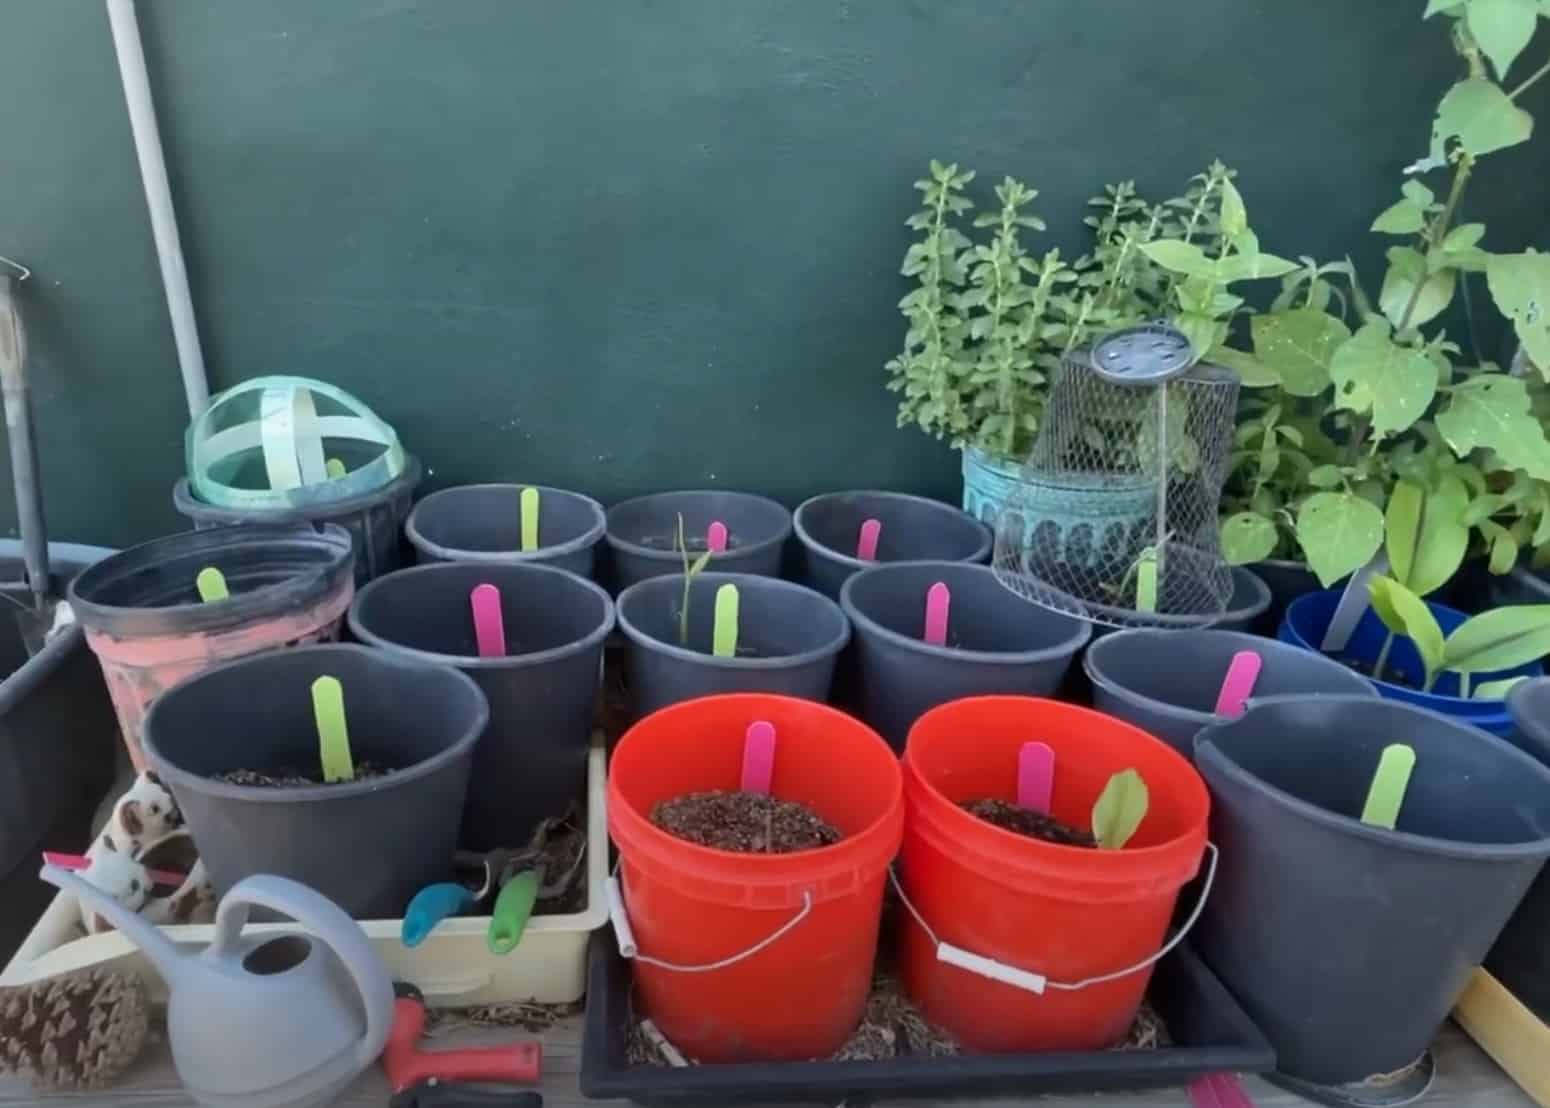
Starting celery can be done either from seeds or from the base of a celery bunch you bought at the store. If you’re going the seed route, start seeds indoors a few weeks before you plan to place them outside. Celery seeds can be finicky, so be patient.
Here’s a quick breakdown:
Starting from Seeds
– Soak your celery seeds in warm water overnight to soften their coating.
– Fill a seed tray or small pot with potting mix and sow seeds on the surface, lightly pressing them in. Celery seeds need light to germinate, so don’t bury them.
– Keep the soil consistently moist with a watering can and place them in a warm, sunny spot (or under grow lights).
Starting from Scraps
– Save the bottom 2-3 inches of a store-bought celery bunch.
– Place it in a shallow dish of water on a sunny windowsill. Refresh the water daily.
– Watch for new green growth emerging from the center. After about a week or two, you’ll have visible leaves and tiny roots forming.
Either way, once seedlings reach a few inches tall or your kitchen scrap has sprouted roots, you’re ready to transplant into your main pot.
Step 2: Transplanting Celery into Its Final Pot
When transplanting, choose a container that’s at least 8-10 inches deep. Celery’s shallow roots don’t need much vertical space, but you do want some room around each plant so the stalks aren’t overcrowded.
– Fill your large pot about three-quarters full with potting mix. A quality mix retains moisture but also drains well.
– Carefully place the celery seedling (or scrap with roots) in the center, ensuring the crown (where leaves meet the roots) is level with or slightly above the soil surface.
– Backfill around the roots, gently pressing the soil to eliminate air pockets. Water thoroughly.
Give it a bit of time to settle. If the plant starts looking limp, don’t worry. Celery often experiences mild transplant shock but usually rebounds within a few days.
Step 3: Providing the Right Growing Conditions
Celery thrives in consistently moist soil. It doesn’t like soggy conditions, though, so ensure your pot has good drainage. Overwatering can lead to root rot. Aim to keep the top of the soil slightly damp and never dried out completely.
In terms of temperature, celery enjoys cooler weather—ideally in the 60-70°F range. If you live somewhere especially hot, consider placing the pot in a spot that gets morning sun but is shaded in the afternoon. If you’re in a cooler climate, full sun is usually fine.
Fertilizing is also key. Feed your celery with a liquid fertilizer every couple of weeks to keep those stalks growing thick and crisp. Because celery has a relatively long growing season, regular feeding ensures you don’t end up with thin, stringy stalks.
Step 4: Ongoing Maintenance and Pest Control

Maintaining your potted celery is straightforward. It’s mainly about consistent moisture, proper feeding, and vigilant pest checks.
1. Watering
Celery is a water lover. Keep a close eye on the soil’s moisture level. A plant saucer under the pot can help catch extra water, but be sure to drain excess if it accumulates for too long. Standing water can cause root issues.
2. Mulching
Once the celery is established, apply a layer of mulch around the base. This helps the soil retain moisture and blocks out weeds.
3. Fertilizing
Apply a balanced liquid fertilizer every 2-3 weeks. Celery needs lots of nutrients to produce those juicy stalks.
4. Pest Control
Celery can attract aphids and slugs. Keep an eye out for holes in leaves or tiny insects on the undersides. A gentle rinse with water or an organic pest control spray can remedy minor infestations. If slugs become an issue, use slug traps or place rough materials like crushed eggshells around the plant’s base to deter them.
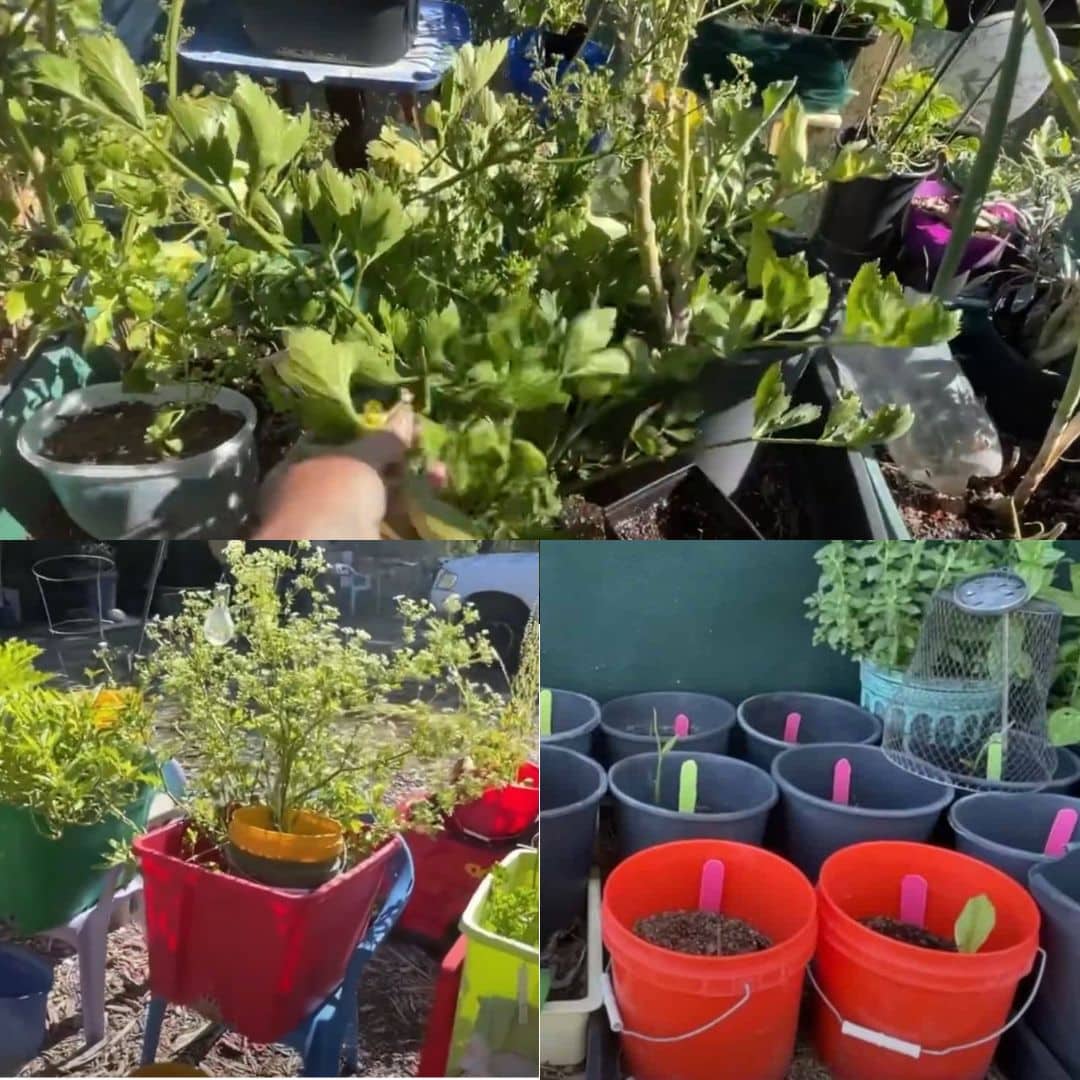
Step 5: Harvesting Celery for a Continuous Supply
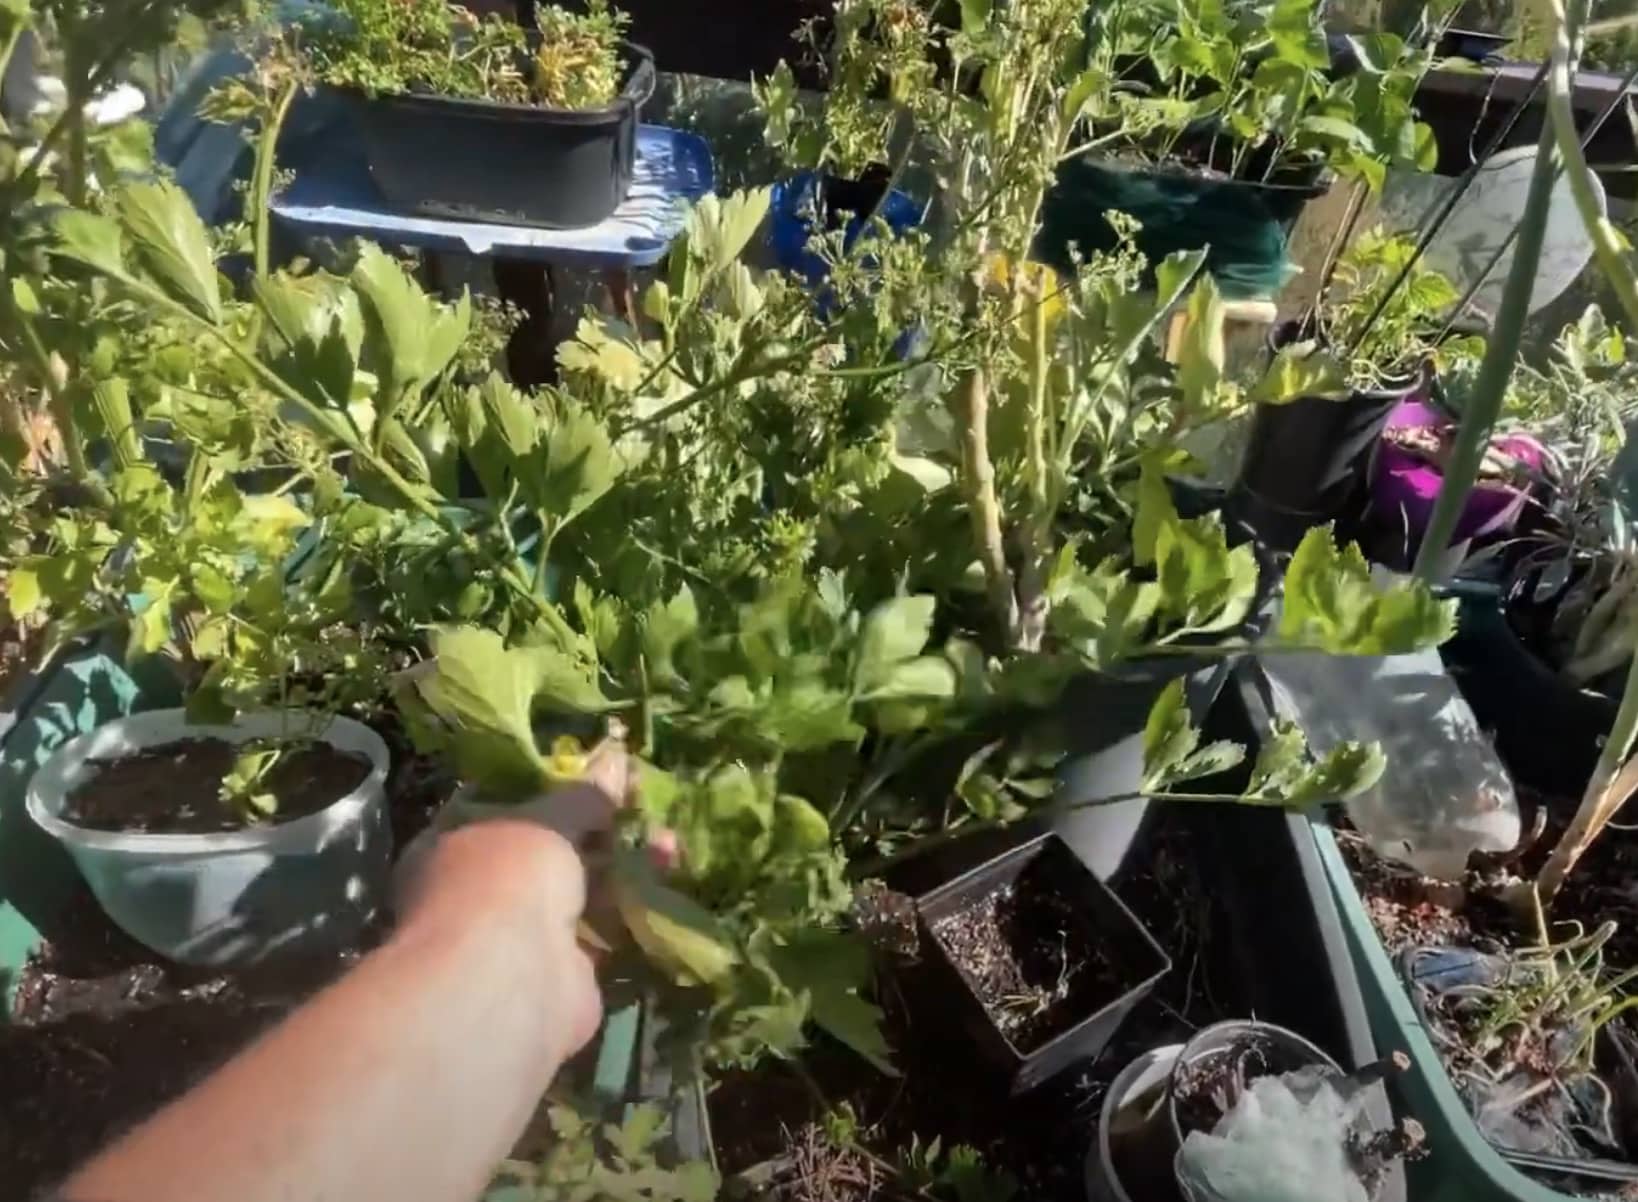
The trick to maintaining a never-ending supply of celery lies in harvesting stalks the right way. Instead of cutting the entire plant at once, remove individual outer stalks as you need them.
– Use pruning shears to carefully snip stalks near the base. Leave the central stalks and heart intact.
– Harvest as soon as the stalks are at least six inches long. The longer you wait, the thicker and tougher they can become.
– Keep the soil and nutrient levels healthy. New stalks will form in the center, effectively replacing the ones you’ve harvested.
With proper care, a single celery plant can keep producing stalks for months. For the biggest yields, consider staggering your planting times so you have new seedlings ready to go just as older plants start to wind down.
Tips for Blanching and Improving Flavor
Blanching refers to shielding stalks from sunlight to make them more tender and sweet. In container gardening, you can do this by loosely wrapping the outer stalks with newspaper, cardboard, or other opaque material a couple of weeks before harvesting. This reduces chlorophyll production in the stalks, which can cut down on bitterness.
You don’t have to blanch celery—some gardeners prefer the more pronounced flavor of unblanched stalks. But if you’re after that paler, sweeter celery typically found in grocery stores, blanching is the way to go.
Troubleshooting Common Celery Problems
All gardeners encounter hiccups along the way, and celery is no different. A few common issues include:
– Bitter Stalks: Usually a result of under-watering or letting the soil dry out. Check moisture levels and add mulch.
– Wilted Stalks: Possibly overwatering or insufficient nutrients. Let the topsoil dry slightly before watering again, and stick to a feeding schedule.
– Pests: Aphids, slugs, and snails are common. Use organic methods or relocate your pot to a spot less favorable to these critters.
The key is catching problems early. Regularly inspect your celery and respond quickly to any signs of stress or pest invasion.
Ensuring a Never-Ending Supply
Here’s where the magic happens. To maintain a steady stream of celery:
1. Stagger Your Plantings
Start new seeds or kitchen scrap cuttings every few weeks. That way, once your first batch is winding down, you’ll have new plants ready to pick up the slack.
2. Harvest Gradually
Only remove a few stalks at a time from each plant. This keeps the plant alive and encourages ongoing production.
3. Fertilize and Rotate
Each time you replant, refresh the potting mix or rotate your celery to another container with fresh soil to prevent nutrient depletion. Regular feeding helps too.
4. Overwintering Tips
If you have harsh winters, bring your pot indoors or to a sheltered area. Celery can handle some cooler weather, but extreme frost might damage it. Under grow lights, celery can continue to produce even in off-seasons.
Bonus: Common Questions About Growing Celery in a Pot
Here are five questions people often ask when first attempting to grow their own continuous crop of celery.
1. Can I Grow Celery Indoors Year-Round?
Yes. As long as you have sufficient light (natural or a grow light) and maintain a consistent temperature around 60-70°F, celery can thrive indoors. Just remember that indoor air can be drier, so mist the plant or use a humidifier if needed.
2. Do I Really Need to Blanch My Celery?
It’s optional. Blanching reduces bitterness, producing a milder taste and paler stalks, but it takes extra time and effort. If you’re fine with a stronger flavor, skip it.
3. How Often Should I Water Potted Celery?
Celery is thirstier than some container crops. You’ll likely need to water daily in hot weather, but always test the soil first. If the top inch is dry, it’s time to water.
4. Why Are My Celery Stalks Thin and Stringy?
They’re probably undernourished or not getting enough water. Celery needs consistent moisture and regular feeding with liquid fertilizer to develop thick, crisp stalks.
5. Can I Plant Multiple Celery Plants in One Pot?
Yes, as long as the pot is large enough to provide space for each plant. Aim for at least 6 inches of space between plants. Too much crowding can lead to stunted growth and increased susceptibility to pests and diseases.
Growing celery in a pot can be a wonderfully rewarding project. It’s a conversation starter, too—friends and family are always surprised to see a pot brimming with fresh, crisp stalks on a patio. With proper care, you can enjoy a continuous harvest that spices up everything from salads to soups. Now that you know the steps, get that pot filled up, scatter some seeds, and prepare for a flourishing celery supply that just keeps on giving!