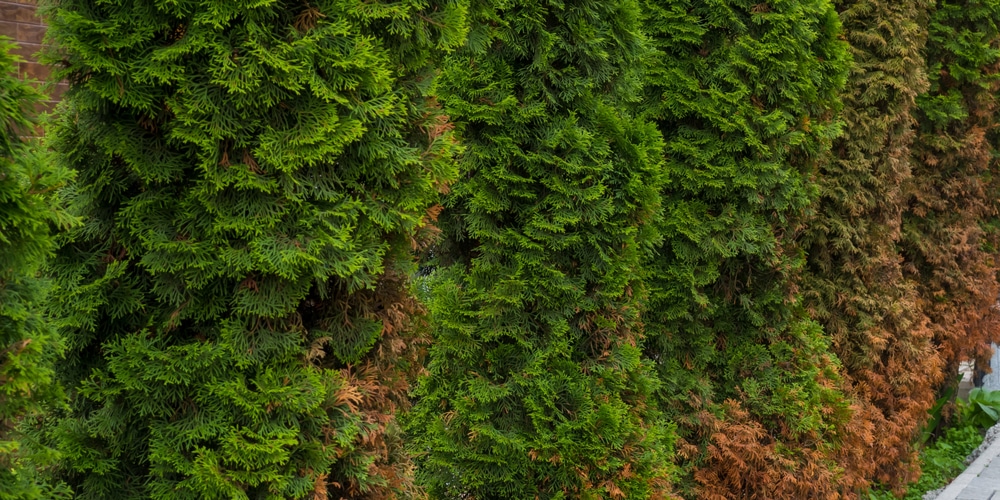
Arborvitaes are a popular staple in many American landscapes. They come in all sizes, and many homeowners cherish them for their attractive, evergreen, scale-like leaves arranged in small sprays to add texture to any landscape. That said, while arborvitae trees perfectly ornament our yards and gardens, you may want to hew those that outgrow their space in your landscape. This post will cover how to cut down arborvitae trees from your yard in an easy-to-follow way.

Whichever the reason, if you are planning to chop down arborvitae, there are a few things you need to understand about these evergreens so you can do the cutting with minimal hassle. Unless shaped into unique topiaries, arborvitae plants usually have a dense growth down the trunk. While this may make cutting them down feel daunting, it is fairly a simple task that you can accomplish in a day when approached and executed correctly.
Felling arborvitae tree and removing it from your yard
Arborvitae plants (Thuja spp.) are famous for their evergreen foliage that grows all the way down the trunk. However, this should stop you from cutting down any arborvitae you want to do away with.
Here are steps to safely falling overgrown or unwanted arborvitae trees:
1. Examine the area around the tree
Safety is always a priority when cutting down trees. For this reason, before embarking on felling your arborvitae tree, whether it is the green giant or overgrown dwarf varieties, you want to examine the area around the tree for obstacles, other growing plants, or structures that you don’t wish to crush. This will help ensure the safety of your property and yourself.
Stand back and observe to which side the tree is naturally leaning. Further, inspect the tree for weak spots or disease. This will give you a sense of where the tree will fall when you start cutting.
2. Determine the drop site
Depending on the obstacles and structures around the tree to want to chop down, determine the best direction to drop the arborvitae tree. Obviously, this should be the opposite and far from structures and plants that you do not wish to crush.
Afterward, plan two or more escape routes in case the tree resists falling in the planned direction.
3. Prepare arborvitae for cutting and removal
If you will be removing the stump after felling the tree, it is a good idea to saturate the soil around the tree with water the night before the day you intend to hew the tree. On average, running your hose for about 10 minutes will help ensure water penetrates deep into the soil.
4. Cut down the arborvitae tree
After you have prepared everything, use a chainsaw to chop off the lower limbs so you can approach the trunk. Next, make a V-shaped notch on the side of the tree that faces the direction you want it to fall – a 90-degree-angle notch would give the best results.
Importantly, to increase the chances of the tree falling at the selected drop site, make the depth of the notch about a quarter of the tree’s diameter.
Using a power saw, cut straight into the tree on the side opposite the undercut and slightly above the deepest part of the V notch, preferably 2 inches. The trees should start falling in a few minutes.
For safety purposes, you may want to change to a hand-operated saw once the straight slit is nearly half the tree’s diameter. Whichever tool you are using, when the tree starts falling, step away and let nature do the rest. Avoid staying too close as the tree can potentially bounce after hitting the ground.
5. Limbing
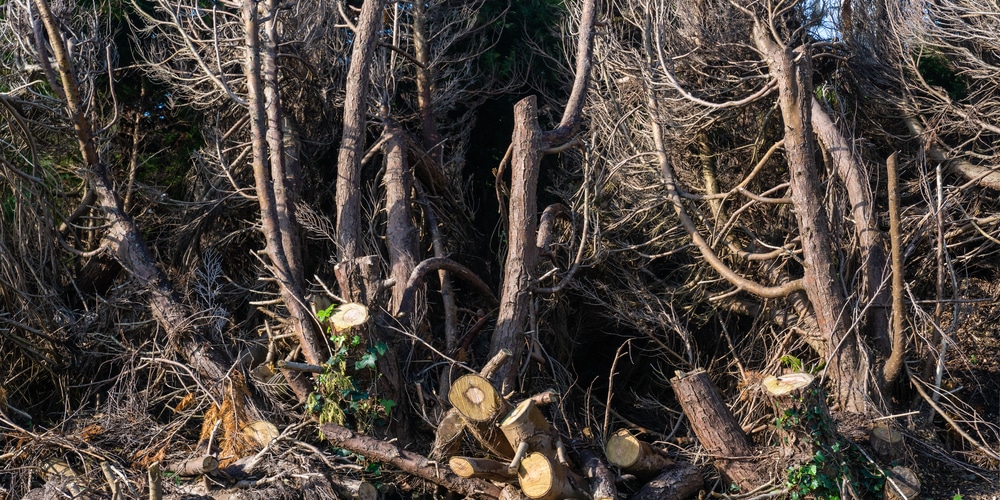
Once the tree is down, remove the limbs starting from the bottom side. If you are working on a slope, never stand on the downside.
With the trees solidly lying down, work to chop the branches to sizes right for disposal and bundle them according to local regulations regarding disposal of solid waste.
6. Stump removal
Compared to other types of trees, arborvitae stumps take relatively longer to decay. That’s why you need to remove it from the earth. Although it is the most challenging part and requires the most effort, it is the most rewarding because it helps in eradicating the tree from your yard.
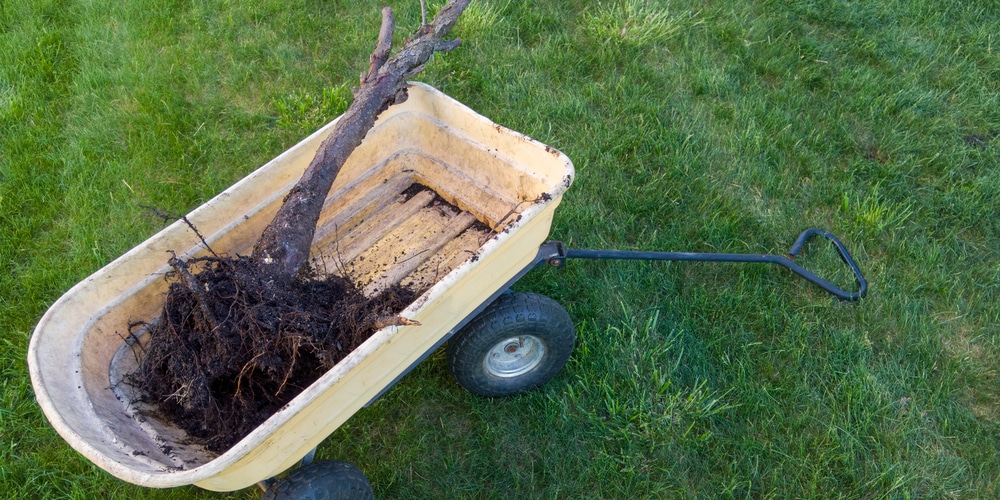
To remove the stump, dig it out with a sharp spade and pick as you cut the largest roots with a saw.
Other viable options would be having the stump removed by an arborist or tree service, or you can also drill holes into the stump, fill them with chemicals, and cover them to aid rotting.
Once you remove the stump, you can plant grass after stump grinding. No one will ever know the stump was there.
Related Article: How to Stop Small Trees From Growing Back?

