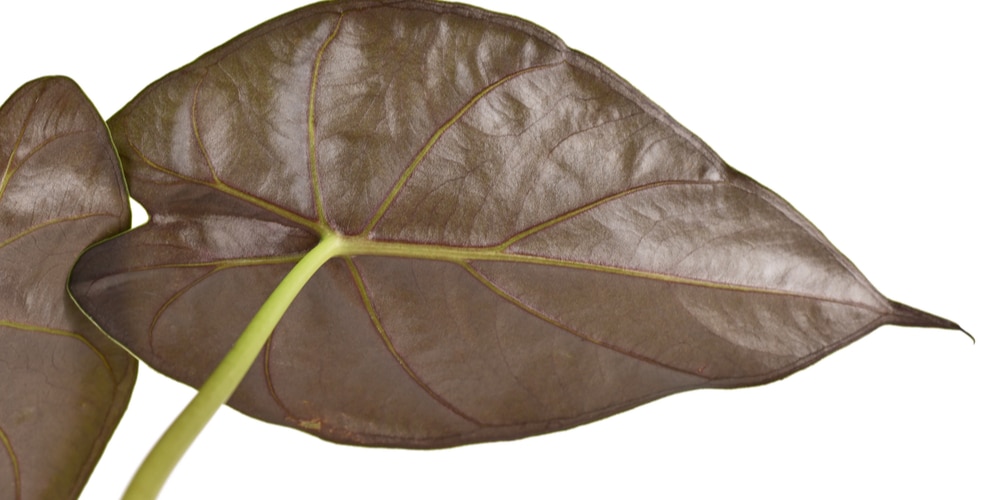
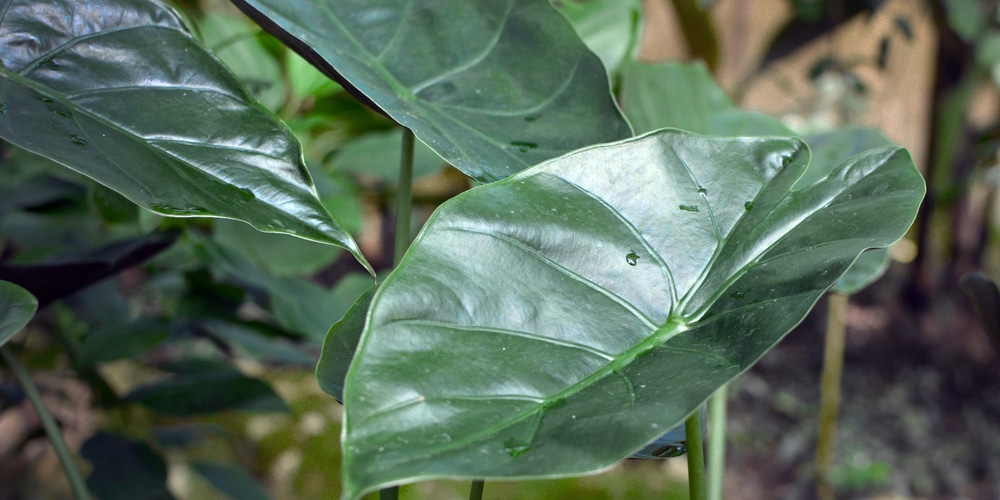
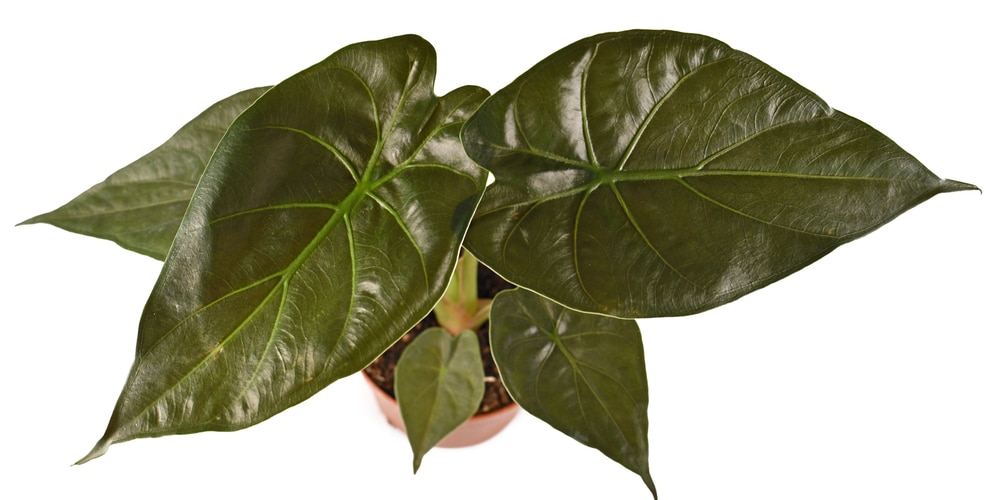
Alocasia wentii is a very popular indoor houseplant with large, heart-shaped leaves and bronze coloring underneath. It’s hardy, easy to care for, and can grow quickly to fill a space in your room or outdoor landscape.

| Botanical Name | Alocasia wentii |
| Common Name | Hardy Elephant Ear, New Guinea Shield |
| Plant Type | Perennial |
| Flower Color | Produces pale and insignificant spathes |
| Size When Mature | 36 to 60 inches |
| Bloom Time | N/A |
| Sun Requirements | Bright and indirect light |
| USDA Hardiness Zones | 8 to 10 outdoors |
| Soil PH Range | 5 to 8 |
| Soil Type | Aroid mix or well-draining soil |
| Water Needs | Medium to Low |
| Native Area | Asia and Eastern Australia |
What you Need to Know About Alocasia Wentii
The Alocasia wentii is a beloved houseplant that sports intricate, heart-shaped leaves that can grow up to 20 inches in the right condition. The plant thrives best in bright and indirect light and within a temperature range of 55 to 86 degrees F (or 13 to 30 degrees C).
Dormancy can be triggered if exposed to cold and low-light conditions. High humidity and fertilization is a must if you want your Alocasia wentii to grow well. The plant produces pale spathes that only last a few days. Its leaves, stems and sap are highly toxic to pets and humans.
Alocasia Wentii Care
Here’s everything you need to know about growing and caring for a thriving Alocasia Wentii
Light
The leaves of an Alocasia wentii is clearly the highlight of taking care of the plant. The large and veined foliage with bronze undersides is clearly breathtaking, but it can easily get burned with direct sunlight.
The best position for an Alocasia wentii to be in is somewhere that gets bright and indirect light (preferably from the sun). In cooler regions, the plant can be exposed to morning sunlight for an hour or so. Alocasia wentii actually prefers the shade and will grow well when you put it beside a window that gets natural sunlight.
Alocasia wentii is primarily a tropical species and has a habit of reaching towards a light source. That said, if you want to get a nice and even growth it’s recommended that you give your plant a quarter-turn each time you give it a drink.
Alocasia wentii will need to be exposed to constant bright light or else it will enter dormancy. Consider getting a grow light to prevent this from happening.
Water and Soil Needs
The best soil medium for an Alocasia wentii is an Aroid mix, or a combination of charcoal, perlite, bark, LECA, coconut coir and worm castings. A good alternative is a 50/50 mix of garden soil and cactus medium, but for this you’ll need to be extra careful in terms of overwatering.
Worm castings and compost are always welcome as it provides much-needed nutrients and keeps the soil fertile. A soilless mix makes things so much easier when it comes to watering your Alocasia wentii.
Being a tropical plant, the Alocasia wentii needs to have a drink every now and then. However, it doesn’t like to have a consistently wet or soggy soil, or else the plant will show displeasure with yellow and droopy leaves. A good rule of thumb is to check the top two inch of the soil first to see if it’s dry, then water around the area. Make sure that the fleshy stem protruding from the soil won’t get splashed or your plant will experience what’s called ‘stem rot’.
Alocasia wentii is pretty forgiving when it comes to soil pH. The plant can live in soil with pH of 5 to 8, or acidic to slightly alkaline.
Temperature Requirements
Outdoors, the Alocasia Wentii is hardy in zones 8 to 10 and will usually survive cold spells there. The plant doesn’t like low temperatures and may enter a state of dormancy if constantly exposed to such conditions.
All is not lost for those who live in cooler climates, however. You can grow the Alocasia wentii in a pot and bring it indoors during winter, then put it outside once all the risk of frost has passed. The same ‘no direct sunlight’ rule applies or else you’ll be looking at burned and forlorn leaves.
Fertilizer
The best fertilizer to use on an Alocasia wentii is a balanced solution, interspersed with organic material such as compost tea, worm castings, or fish emulsion.
The Alocasia wentii can be a heavy feeder during the growing season and while it’s young, and if you want it to grow lush and healthy then you should meet its nutrient requirements. A once-a-month, balanced 20-20-20 feeding should be fine, diluted to half-strength just to be on the safe side.
Water the soil before giving the fertilizer and make sure that it’s not touching the main stem. If possible, feed it a few inches away from the base. It’s recommended that you ‘flush out’ the fertilizer in the soil every two to three months by running clean water through the soil for a good 5 or 10 minutes.
Common Diseases
Alocasias in general are attractive to certain pests, including thrips and spider mites. As far as diseases are concerned you’ll want to look out for fungal problems caused by overwatering and overly wet soil.
Keep in mind that overwatering can cause yellow leaves, stem rot, and root rot, all of which can lead to the death of your plant. Opt for a soilless mix or an aroid medium, and check the top two inches of the soil before you reach for the watering can.
Make it a point to inspect for thrips and spider mites every time you water. Webs and silvery streaks and patches are a sign that there’s an infestation. Thankfully, you can use several methods, including a jet of water to dislodge the pests or neem oil to keep the insects away from your plant.
Alternatively, you can use DE, or diatomaceous earth on the foliage and soil to eliminate a heavy spider mite infestation.
Alocasia Wentii Propagation
The Alocasia wentii plant can be propagated using the division method.
With division, you separate offsets or corms (small clumps of rhizomes) from the main plant and give it a home. To improve your chances of successfully propagating an alocasia wentii, you should choose specimens that have a number of tiny and healthy roots.
The best time to propagate your alocasia wentii is during spring and when you’re going to repot the plant. Loosen the root system first before removing the offset or corm you want using sterilized scissors or garden shears, then place it in a new pot with well-draining soil.
After a few weeks in a highly humid and bright environment, you should start to see new growth.
Related Article: Alocasia Melo Care

